Why Does Sauce Separate After Reheating? How to Fix It
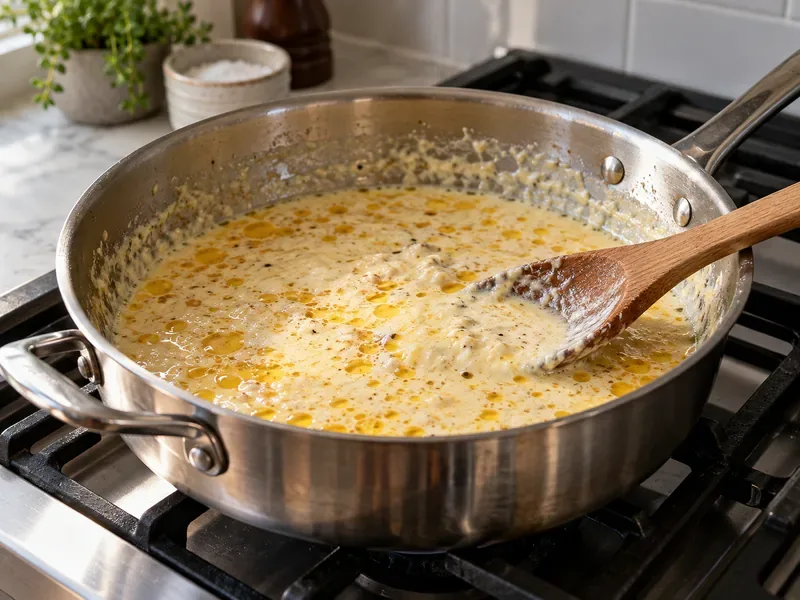
Learn why reheated sauce turns oily, watery, or grainy, which gentle fixes can bring it back together, and when food safety means you should discard it.
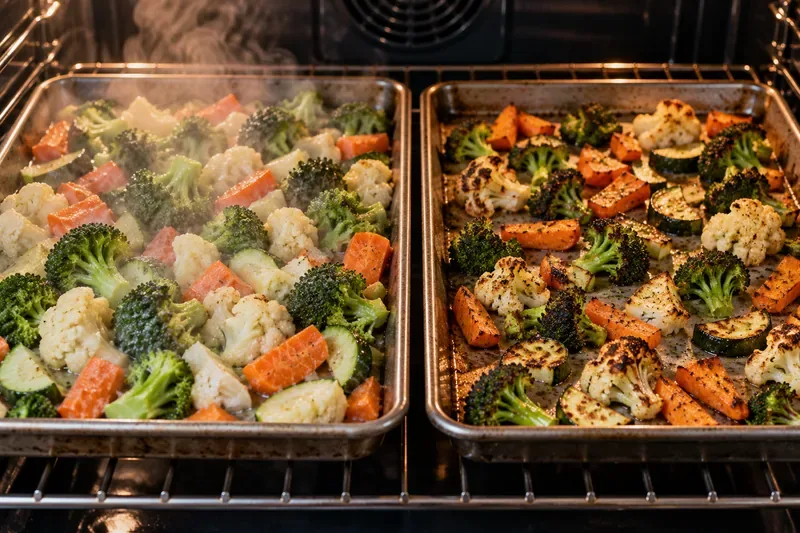
The most common reason roasted vegetables steam instead of brown is simple: too much water is staying around the food for too long. When a crowded pan releases moisture faster than the oven can carry it away, the vegetables cook in a humid pocket. They may become tender, but their surfaces spend less time hot and dry enough to develop the deep color, roasted aroma, and crisp edges people usually want.
A useful target is not “dry vegetables” or “maximum heat.” It is a balanced result: browned contact points and edges, a roasted aroma, tender interiors, and little or no watery liquid pooling on the pan. If the vegetables are soft and pale, the process needs more evaporation, more heat at the surface, or both.
Browning in roasted vegetables comes from several heat-driven reactions. The Maillard reaction, which involves amino compounds and reducing sugars, contributes color and roasted flavors; sugar breakdown can also contribute to browning. Temperature, time, pH, reactant concentration, and water activity all influence these reactions. A recent scientific review summarizes those factors, including the importance of temperature and water activity in Maillard chemistry: PubMed: review of the Maillard reaction and its controlling parameters.
Water is especially important in a home oven because evaporating it consumes heat. A wet vegetable surface therefore spends part of the cooking time shedding moisture instead of getting progressively hotter and browner. Classic food-science work also shows that nonenzymatic browning is strongly affected by water activity rather than increasing continuously as food gets wetter: PubMed: water and nonenzymatic browning.
What to do: Treat visible water as a warning sign. If cut vegetables are dripping, freshly washed, heavily thawed, or sitting in pooled liquid, dry them before oiling and roasting.
Vegetables release water as they heat. If pieces are packed edge to edge or piled on top of one another, that vapor has fewer easy escape paths. The local air becomes humid, droplets and juices collect, and the pan behaves more like a shallow steamer than a dry roasting surface.
You do not need a mathematically precise spacing rule. Look at the pan instead. Most pieces should have exposed surface area, and ideally many should make direct contact with the metal. A few touching edges are not a problem; a dense mound is.
What good progress looks like: Within the first part of roasting, the pan should sound more like a gentle sizzle than a simmer. As cooking continues, edges should darken while the pan itself stays mostly free of standing liquid.
When to change course: If you see a layer of liquid halfway through roasting, divide the vegetables between two pans or remove excess liquid if practical. Continuing at the same density may eventually dry the pan, but the vegetables can become overly soft before substantial browning develops.
Oil improves heat transfer and helps seasonings adhere, but oil cannot eliminate excess water. Pouring on more oil when vegetables are already wet usually makes them greasy rather than more deeply roasted.
After washing vegetables, drain them thoroughly and blot with a clean kitchen towel or paper towel. This is especially useful for vegetables with many crevices, such as broccoli and cauliflower. For thawed frozen vegetables, visible ice and meltwater can create an even larger moisture load.
Use enough oil to coat the surfaces lightly rather than leaving a puddle on the pan. The exact amount depends on the vegetable, cut size, pan size, and personal preference, so a rigid tablespoon-per-pound rule is less useful than the visual test: pieces should look lightly glossy, not submerged or dripping.
What to do: If the finished vegetables are pale and oily, reduce surface water before increasing oil.
Roasting generally works at higher heat than gentle baking because the goal includes a browned exterior. Whirlpool’s current oven guidance describes roast settings as using higher heat for browning and notes that convection roasting circulates hot air to help vegetables develop crisp, browned or caramelized exteriors: Whirlpool oven settings guide.
For many sturdy vegetables, recipes commonly use oven settings around 400°F to 450°F, and some manufacturer guides permit even higher roasting temperatures. But the correct setting depends on your oven, the food, the pan, and how dark you want the result. Delicate vegetables or sugary glazes can burn before a dense root vegetable cooks through.
What to do: If the vegetables are dry and well spaced but remain pale, increase the roasting temperature modestly on the next batch or use an appropriate roast/convection-roast mode if your oven provides one.
A convection fan circulates heated air. That airflow can improve heat distribution and help move moisture away from food surfaces. Whirlpool specifically notes that convection can promote crisp, browned exteriors and faster browning: Whirlpool guidance on convection roast versus convection bake.
However, convection has limits. A fan cannot create exposed surface area where vegetables are piled several layers deep. Nor can it instantly evaporate a large volume of water released by an overloaded pan.
What to do: Use convection as an amplifier of good setup—dry food, enough room, suitable heat—not as a substitute for that setup. Because convection can brown faster, start checking earlier than you would in a conventional oven.
A shallow metal sheet pan is usually effective because it exposes food to oven air while providing a broad hot contact surface. Deep casserole dishes and covered pans hold in more vapor. Parchment is convenient and still allows roasting, but direct contact with bare hot metal can sometimes produce stronger contact browning.
Pan color, thickness, and material also change how quickly the surface heats. That means identical vegetables can brown differently on two different pans even at the same oven setting.
What to do: If your vegetables are consistently soft rather than browned, test a sturdy, shallow metal sheet pan before changing several other variables at once.
Small pieces have more exposed surface area relative to their volume, so they can brown quickly. But they can also dry out or burn. Very large chunks may become tender slowly, giving you a longer window for surface browning, but dense vegetables can remain firm inside.
Uniformity matters because mixed sizes finish at different times. A tray with tiny broccoli florets and thick carrot chunks may force a compromise: either the broccoli gets too dark or the carrots stay firm.
What good results look like: Pieces of the same vegetable should be reasonably similar in size, with darkened edges appearing around the same time the centers reach the tenderness you prefer.
When to change course: If the outsides are dark before the centers soften, cut smaller next time or lower the heat slightly after initial browning. If the centers are soft but the surfaces remain pale, cut somewhat larger, increase heat, or reduce crowding.
Zucchini, mushrooms, eggplant, tomatoes, and some frozen vegetables can release substantial moisture. That does not mean they cannot roast well, but they may need more pan space than dense vegetables such as carrots or potatoes.
Mixing very watery vegetables with slow-cooking dense vegetables can also create an uneven pan. The watery items may flood the pan while the dense pieces still need time.
What to do: When the ingredients behave very differently, roast them on separate pans or add quick-cooking vegetables later. Judge success by the ingredient: a roasted tomato will not become crisp like a potato, but it can still develop browned edges and concentrated flavor.
Every time vegetables are moved, a new surface must heat against the pan. Frequent stirring also releases oven heat and humidity through the open door. Leaving vegetables undisturbed long enough for one side to color can produce a stronger sear.
This does not mean “never turn.” One turn during roasting is often useful for even color, especially in an oven with hot spots.
What to do: Resist constant stirring. Check for a browned underside before turning rather than moving the food on a fixed short interval.
If dry, well-spaced vegetables on a shallow metal pan still fail to brown at a suitable roast setting, the oven may be running differently from what you expect. Manufacturers acknowledge that ovens can cook faster or slower and can produce different browning results; many models provide a calibration adjustment. Whirlpool’s product support recommends following the model-specific calibration instructions rather than assuming every oven behaves identically: Whirlpool oven temperature and calibration guidance.
What to do: First compare several familiar foods, not just one vegetable recipe. If the oven consistently cooks slowly or browns poorly, check the owner’s manual for calibration or service guidance specific to your model.
| What you see | Most likely issue | Best first adjustment |
|---|---|---|
| Pale vegetables with liquid pooling | Too much moisture or crowding | Dry the vegetables and use more pan space |
| Soft, oily vegetables with little color | Water plus excess oil | Reduce surface moisture before changing oil |
| Dry but pale vegetables | Insufficient surface heat or weak airflow | Raise heat modestly or try an appropriate convection-roast mode |
| Dark edges but hard centers | Pieces too large or heat too aggressive | Cut smaller or reduce heat after browning begins |
| Burned small pieces beside pale large pieces | Uneven cuts or incompatible vegetables | Standardize size or roast components separately |
| Everything in the oven browns slowly | Possible oven temperature or mode issue | Consult model-specific calibration guidance |
You do not need restaurant-level charring for roasted vegetables to be successful. A well-roasted batch should show clear color development on exposed edges or pan-contact surfaces, smell toasted rather than merely boiled, and have interiors that match the texture you want. There should not be a lake of vegetable juice remaining on the tray.
If you get tenderness without color, improve evaporation first. If you get color without tenderness, adjust cut size, timing, or heat. If one vegetable behaves very differently from another, separate them rather than forcing the whole tray to follow one schedule.
The core idea is straightforward: browning needs hot, relatively dry surfaces. Give moisture a way to escape, give each piece enough exposure to hot air and metal, and then use oven temperature and convection as fine-tuning tools. That approach will not make every vegetable equally crisp, but it gives you a reliable way to diagnose why a roasted pan is steaming and what to change next.
Learn why reheated sauce turns oily, watery, or grainy, which gentle fixes can bring it back together, and when food safety means you should discard it.
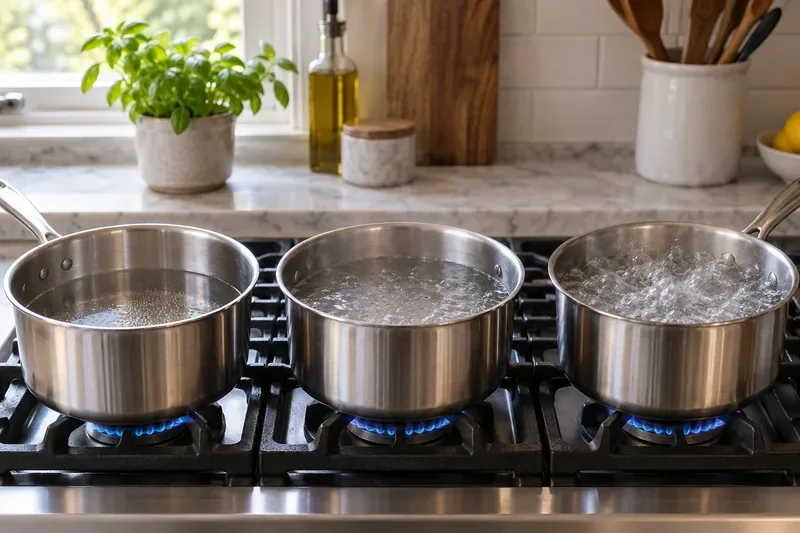
Learn how poaching, simmering, and boiling differ by bubbling, heat, texture, and best use—plus when to check food temperature for safety.
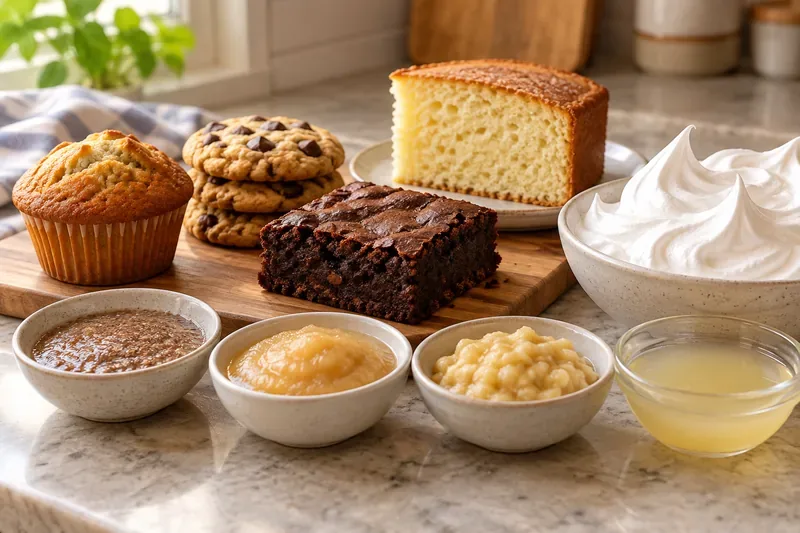
Find egg substitutes for muffins, cookies, brownies, cakes, meringues, and more. Compare flax, fruit purée, yogurt, tofu, aquafaba, and baking replacers.
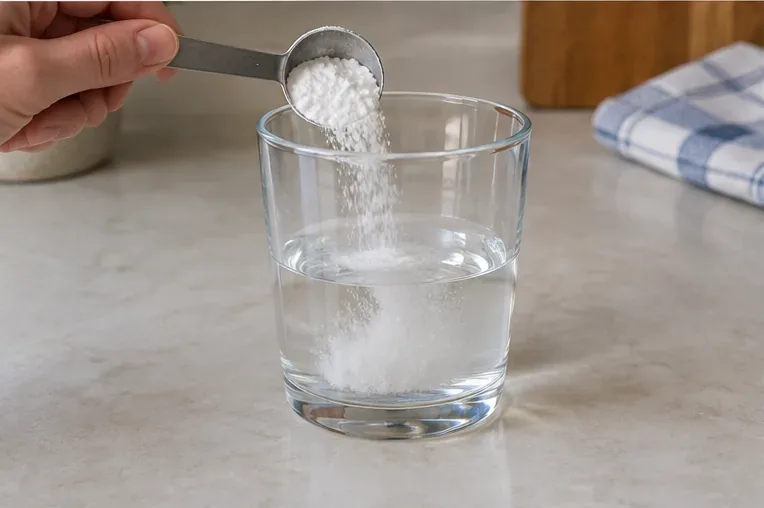
Test baking powder in minutes with warm water, learn what vigorous bubbling means, why powder loses strength, and when replacing it is the better choice.
Learn why roasted vegetables turn soft and steamy instead of deeply browned, how to correct moisture, crowding, heat, and airflow, and how to judge the result.
Plan autumn school lunches with a hypothetical family example, flexible prep choices, storage timing, and safe ways to keep perishable food cold.
Plan an October kids’ party with a practical food allergy checklist for caregiver communication, labels, Halloween candy, cross-contact, and emergency readiness.