How to Seal Salt-Dough Ornaments Against Humidity
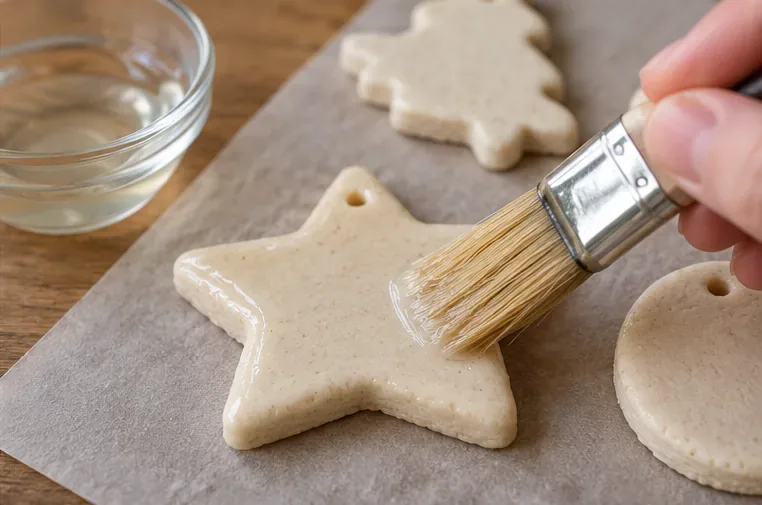
Learn how to seal fully dried salt-dough ornaments with clear acrylic varnish, cover both sides and edges, and store them indoors to reduce humidity damage.
A homemade sticker can look perfect when it leaves the printer and still start curling at the corners a day later. That usually does not mean every DIY sticker is poorly made. Adhesion depends on a chain of factors: the adhesive itself, the face material, the surface you stick it to, how clean and dry that surface is, how much pressure you apply, the shape of the object, and what happens afterward.
The most useful way to troubleshoot is to ask a few questions in the right order. Is the sticker material designed for the job? Is the surface compatible? Did contamination or moisture block contact? Was the sticker pressed down firmly enough? And did it have time to build its bond before water, bending, heat, or handling started pulling at the edges?
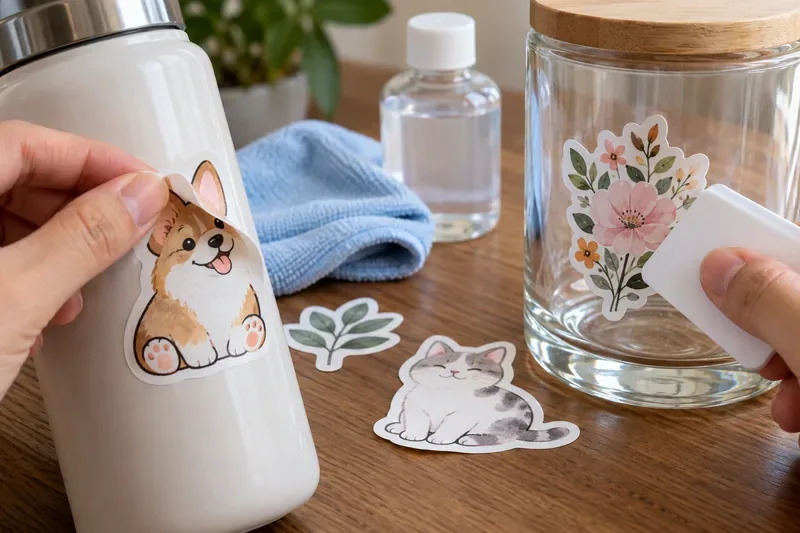
Most homemade stickers use a pressure-sensitive adhesive, often called a PSA. It does not need water, heat, or a separate curing chemical to become tacky. Instead, the adhesive needs intimate contact with the target surface. 3M explains that a PSA must “wet out,” meaning it spreads into microscopic surface irregularities well enough to create contact. Surface energy, cleanliness, pressure, temperature, and time can all affect that process. See 3M's overview of adhesive bond strength and surface energy.
That is why a sticker can feel sticky on your finger but fail on an object. Tack alone is not the same as a durable bond. Oil, dust, water, rough texture, a sharp curve, or a low-energy plastic can reduce how much adhesive actually touches the surface.
This is the first thing to check because it is easy to fix and often overlooked. Finger oils, hand lotion, dust, soap film, wax, silicone residue, condensation, and grease can form a thin barrier between the adhesive and the object.
Avery's label application guidance says the application surface should be dry and free of dust, oil, grease, oxidized material, and other residue. It recommends cleaning suitable surfaces with isopropyl alcohol and a lint-free towel, then allowing the surface to dry before application. The same guidance notes that moisture can reduce adhesive performance. Review the manufacturer's label application instructions.
Do not assume one cleaner is safe for every object. Alcohol can damage some finishes, coatings, painted surfaces, acrylics, or specialty plastics. Check the object's care instructions first and test an inconspicuous area when needed.
A sticker made from ordinary printable paper and a sticker made from printable vinyl may look similar on screen, but they are not interchangeable in use. The face material affects flexibility and moisture resistance, while the adhesive formulation affects whether it can grip a particular substrate.
Surface texture matters too. Rough wood, fabric, powder-coated finishes, pebbled plastic, and heavily textured containers leave microscopic gaps under the adhesive. 3M notes that porous or fibrous materials may need to be sealed to create a more unified bonding surface for some tape systems. Avery likewise lists surface incompatibility as one reason labels may not stick well. See Avery's adhesion troubleshooting guidance.
Some plastics are especially challenging because of low surface energy. In simple terms, the adhesive may resist spreading across the plastic instead of making close contact. If a sticker repeatedly lifts from one type of plastic even after careful cleaning and pressure, switching to a material specifically rated for that substrate is usually more sensible than adding more adhesive blindly.
Yes. Curvature creates peel stress at the edges. A thick paper sticker wrapped around a narrow bottle has to keep bending against its own stiffness. If its adhesive is not strong enough for that geometry, the ends can slowly pull away. Avery calls this kind of edge lifting on cylindrical products “flagging” and recommends choosing an appropriate label size and, where the label design allows it, using overlap for better hold.
For curved objects, a thinner and more conformable sticker stock often performs better than a stiff sheet. Smaller stickers also have less distance over which the material must fight the curve. Rounded corners can help because a sharp corner gives handling and friction an easy place to start a peel.
Pressure is part of the bonding process, not just a finishing touch. Pressing or burnishing pushes the adhesive into closer contact with the surface and helps remove trapped air. Cricut's application instructions for vinyl tell users to start by attaching a small area, then burnish outward with a scraper. Its printable vinyl instructions also tell users to apply to a clean, dry surface. See the current Cricut vinyl application instructions and printable vinyl instructions.
For handmade stickers, press from the center toward the edges with a clean squeegee, scraper, or flexible card. Pay extra attention to the perimeter. Avoid pressing so aggressively that you scratch the print, distort a thin film, or damage the target surface.
Do not judge every pressure-sensitive adhesive immediately. Many build bond strength over time as the adhesive continues to wet out the surface. The exact timing depends on the adhesive system, so the product instructions should control.
As an example, 3M states for its VHB tape systems that bond strength increases after application and gives product-specific build values of roughly 50% after 20 minutes, 90% after 24 hours, and 100% after 72 hours at room temperature. Those numbers should not be treated as a universal formula for craft sticker paper, but they demonstrate why immediate washing or hard use can be a poor test of final adhesion. 3M's product-family guidance is available in its surface-preparation bulletin for VHB tape applications.
Avery tells users of its labels to leave applied products at room temperature for 24 hours to allow the adhesive to set. Cricut's dishwasher-care instructions for its permanent vinyl recommend waiting 24 to 48 hours before dishwashing. Again, follow the specific material's instructions rather than assuming all homemade stickers have the same dwell time.
Not necessarily. Lamination can protect printed graphics from abrasion, handling, and splashes, but it does not automatically improve the adhesive underneath. In fact, a thick laminate can make a small sticker stiffer, which may increase edge stress on a tight curve.
Think of durability as two separate problems: protecting the printed face and maintaining the adhesive bond. A clear overlaminate may solve the first while leaving the second unchanged. For bottles, cases, and containers, use a laminate and sticker stock that remain flexible enough for the shape.
Edge sealing can sometimes protect a craft project, but it is not a universal repair. A topcoat may react with ink, soften certain plastics, discolor paper, or make later removal difficult. Liquid glue can also create lumps or squeeze-out and may be incompatible with the original adhesive.
If the base sticker repeatedly fails, first correct the underlying cause: surface preparation, sticker material, adhesive compatibility, curvature, or application pressure. Use a sealer only when its manufacturer says it is compatible with both the sticker and the target object, and test a spare sample first.
| Condition | Why it causes trouble | Better approach |
|---|---|---|
| Dust, oil, lotion, or soap film | Blocks adhesive-to-surface contact | Clean with a surface-safe method and let it dry fully |
| Moist or cold surface | Can interfere with initial wet-out and bonding | Apply under the material maker's recommended conditions |
| Rough or porous substrate | Reduces true contact area | Choose a suitable adhesive or seal the surface when appropriate |
| Tight cylinder or sharp bend | Continuously pulls at sticker edges | Use thinner stock, smaller shapes, rounded corners, or a material rated for curves |
| Immediate washing or heavy handling | Loads the bond before it has developed | Respect the manufacturer's dwell or set time |
| Wrong adhesive type | Removable or general-purpose adhesive may not suit the job | Match the sticker to the intended substrate and environment |
Use a repeatable process instead of trying random fixes after edges start lifting.
Check the same sample over several stages instead of tugging at it immediately. After application, look for bubbles, wrinkles, or edges that never made full contact. Later, inspect for corner lift, edge curl, sliding, or adhesive residue. If the sticker survives ordinary handling but fails only after washing, sun exposure, or repeated flexing, the issue is more likely a durability mismatch than basic application technique.
If several stickers fail on the same object but work well on glass or another smooth surface, the target substrate is the strongest clue. If stickers fail on every surface, look more closely at old stock, storage conditions, contamination, or a weak adhesive formulation. Avery notes that age and severe environmental exposure can reduce label stickiness.
Long-lasting homemade stickers come from compatibility and application quality more than from one “strongest” adhesive. Start with a sticker material intended for the surface and environment, clean and dry the surface, avoid touching the adhesive, apply firm even pressure, and allow the bond to develop before exposing it to water or stress. If a sticker still lifts, change the material or geometry rather than repeatedly adding glue to a combination that is fundamentally mismatched.
Learn how to seal fully dried salt-dough ornaments with clear acrylic varnish, cover both sides and edges, and store them indoors to reduce humidity damage.
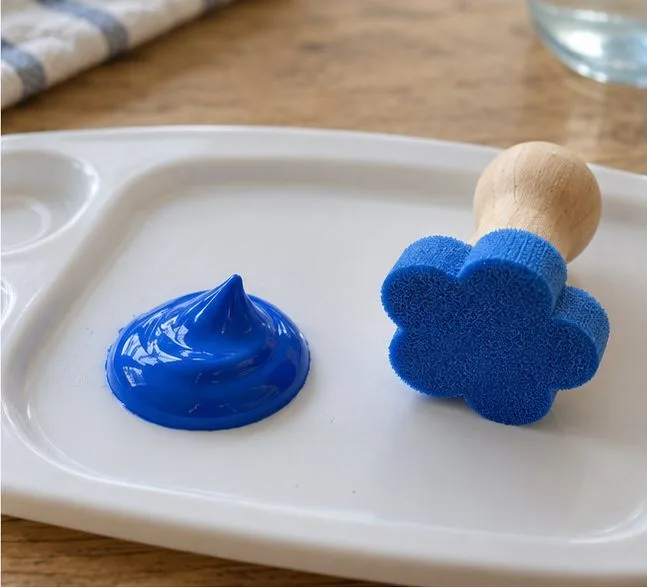
Make watery washable paint work better for stamps: check the formula, use undiluted paint, load a thin even coat, and test before printing.
Learn why homemade stickers peel, curl, or lift and how surface prep, material choice, pressure, curves, and set time can improve adhesion.
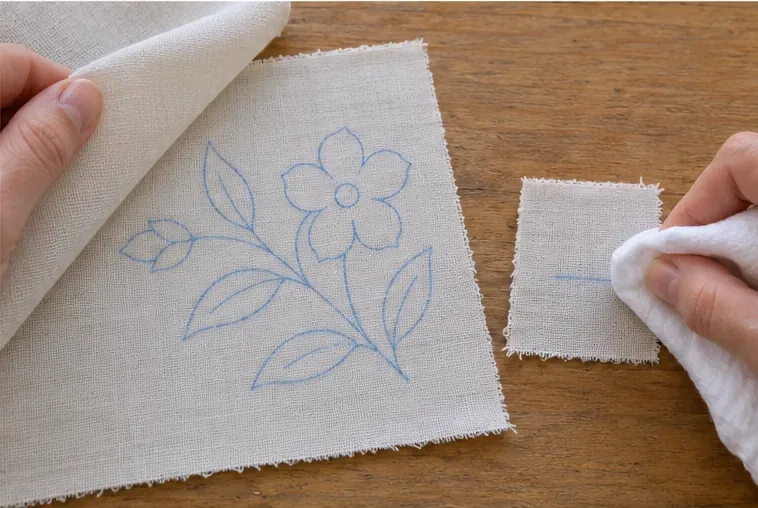
Trace a simple pattern onto light fabric with a washable fabric pen and a bright window or light pad. Learn the four steps, when to use transfer paper, and how to test marks.
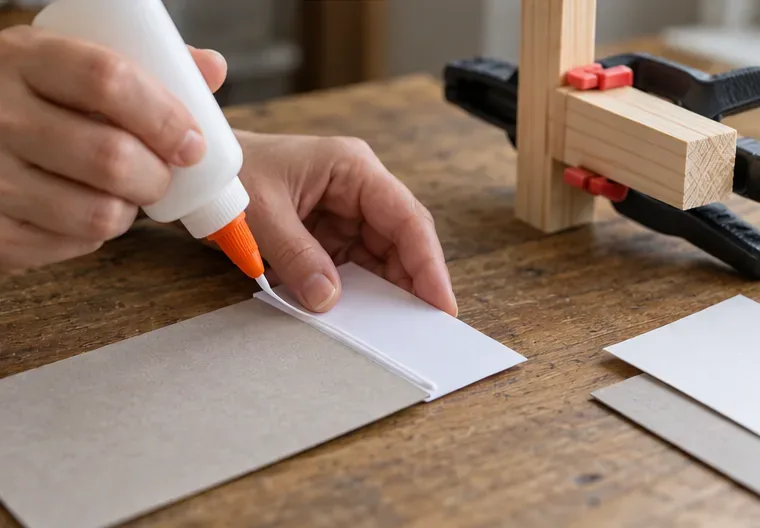
Compare craft glue by material: choose PVA for paper, flexible fabric glue for cloth, wood glue for bare wood, and a plastic-specific adhesive for each resin.
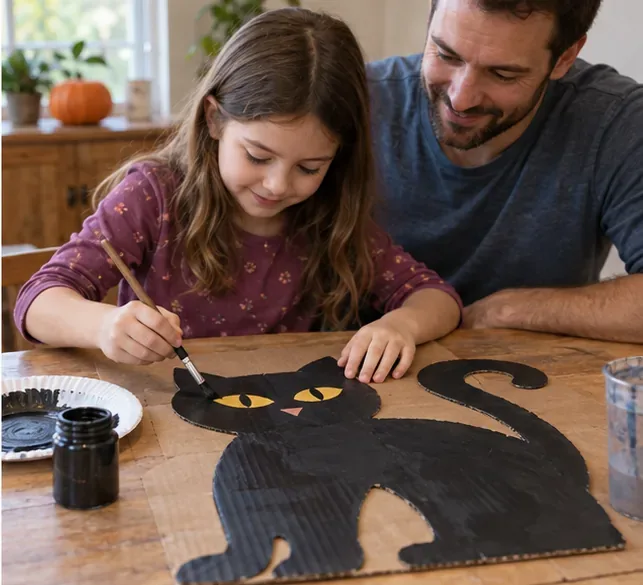
Compare reusable cardboard Halloween decorations kids can make: flat silhouettes, freestanding displays, and garlands, with practical storage and safety tips.
Celebrate World Children’s Day with a low-pressure family idea session. Compare talking, drawing, and writing options, then choose one small follow-up children can see.