How to Seal Salt-Dough Ornaments Against Humidity
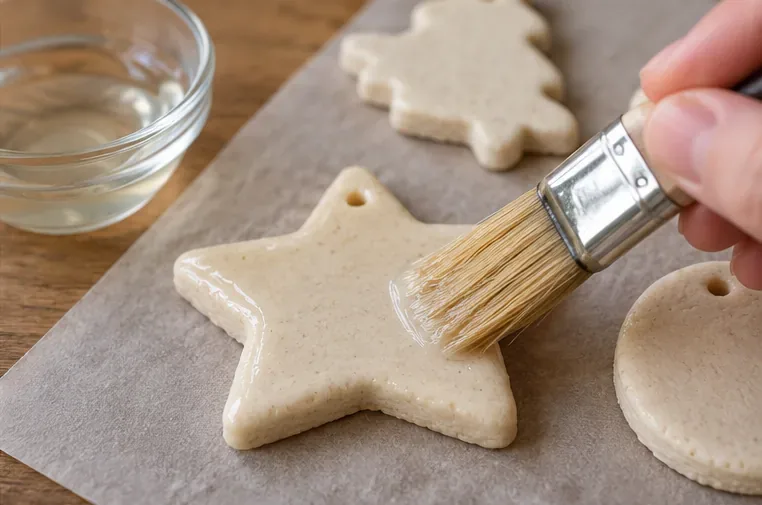
Learn how to seal fully dried salt-dough ornaments with clear acrylic varnish, cover both sides and edges, and store them indoors to reduce humidity damage.
Salt-dough ornaments can soften, crack, or develop mold when they take up moisture from damp air. The practical fix is to seal every exposed surface only after the ornament is completely dry, then keep it indoors in dry storage. A clear acrylic varnish or clear lacquer made for decorative craft surfaces can reduce moisture exposure, but it does not make salt dough waterproof or suitable for a damp porch, bathroom, or outdoor display.
For a small batch, a brush-on clear acrylic varnish gives control around stamped details and hanging holes. A compatible clear spray lacquer can cover textured shapes quickly, but it requires careful ventilation and strict label directions. Either way, the finish, drying interval, number of coats, and safety precautions depend on the product you choose.
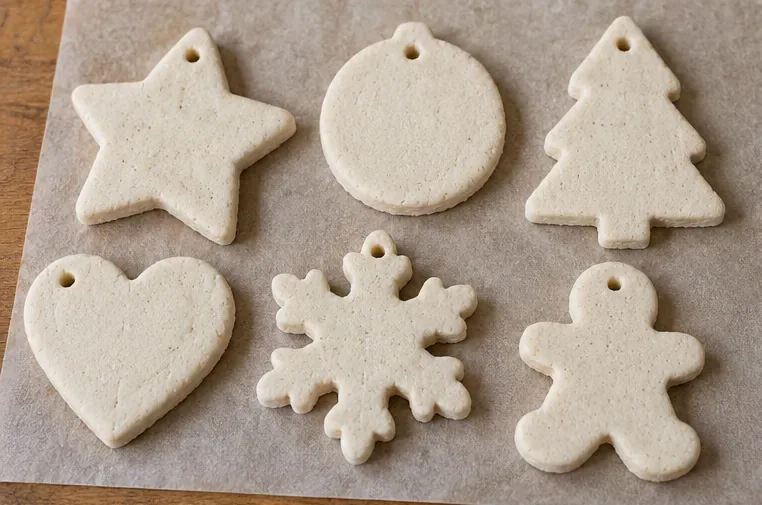
They should be. A surface that feels hard can still cover a damp center, especially if an ornament is thick, was air-dried in humid weather, or came out of the oven recently. Sealing too soon can trap moisture, which works against long-term preservation. Michigan State University Extension’s current salt-dough instructions say to bake until completely dry, cool the pieces, and then apply clear acrylic varnish for moisture protection.
Let cooled ornaments sit in a dry room before coating. Check the thickest area, the back, and the rim around the hanging hole. They should feel hard and room-temperature, not cool or soft in one spot. If you are unsure, give them more drying time in a warm, dry place and inspect again; do not rely on a coating to finish drying the dough.
Look for a clear acrylic varnish or clear lacquer whose manufacturer says it is suitable for salt dough or comparable decorative craft surfaces. For example, edding identifies salt-dough ornaments as a use for its 5200 clear acrylic spray lacquer. That is evidence for that product’s stated use, not an endorsement of every spray sealer. Check that the product is compatible with the ornament’s paint and decorations, and test it on a spare piece or an inconspicuous area first.
Before coating a painted ornament, check that the paint is fully dry. Some finishes can cloud, bleed, or change sheen when covered, so a small test is more useful than experimenting on a keepsake.
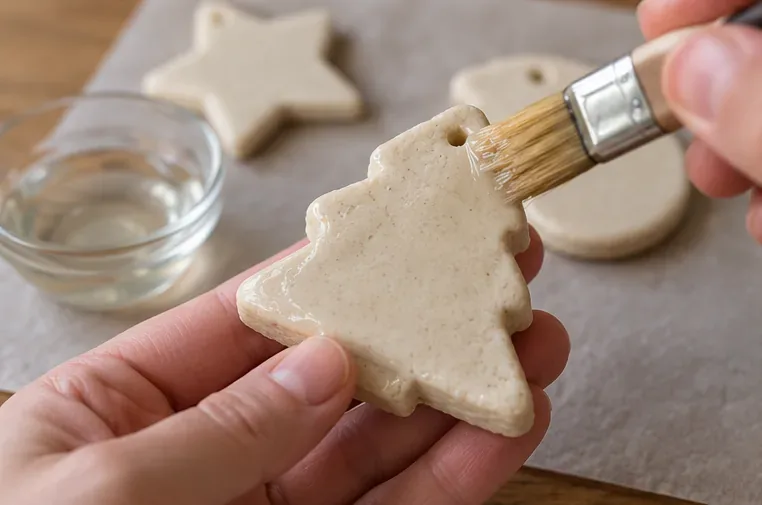
Use the number and recoat interval specified by the sealer manufacturer. There is no universal coat count for every brand, ornament thickness, paint layer, and room condition. The Michigan State Extension article recommends clear acrylic varnish for durability, while manufacturers give product-specific application instructions; follow the instructions for the exact can or bottle in your hand. Several thin, fully dried coats usually give more even coverage than one thick coat, but do not add extra layers if the product label advises otherwise.
Read the full label before opening the can. Apply it outdoors or in the well-ventilated setting specified by the manufacturer, protect nearby surfaces, and keep children and pets away from the application area and wet finish. Use the stated distance and motion, and do not spray toward people, food, flames, or heaters. A clear spray intended for salt dough may still have product-specific hazards; the label and safety directions govern.
Wait for the full drying or curing period listed on the label, not merely until the coating no longer feels wet. Then inspect all sides. A properly finished ornament should feel dry and non-tacky, with no missed raw patches or trapped softness. If it feels tacky, smells strongly, or shows cloudy areas, give it more time in a ventilated dry place and consult the product instructions before handling or packing it.
Store finished ornaments in a dry indoor cupboard or a clean closed box, separated with acid-free tissue or another non-abrasive padding so they do not rub together. A silica-gel packet can help keep a storage box dry, but it is not a substitute for drying and coating the ornaments. Do not store the box in a basement, attic, shed, or other location that regularly becomes damp. If the home itself is humid, choose the driest indoor closet available and check the ornaments when seasonal decorations are brought out.

No. A protective finish reduces direct moisture exposure, but salt dough remains vulnerable to water and prolonged high humidity. edding’s salt-dough guidance warns that even varnished pieces are not weatherproof and should not be displayed outdoors. Treat ornaments as indoor keepsakes, avoid washing or soaking them, and move them away from damp windows, steamy rooms, or condensation.
If an ornament already feels soft, smells musty, or shows visible mold, do not simply coat over it. Keep it separate from other decorations and assess whether it can be safely preserved; a finish will not reverse damage inside the dough. For a sentimental piece, consider making a photographed record before deciding what to do.
Michigan State University Extension’s salt-dough recipe and edding’s manufacturer guidance both support drying first and using clear acrylic varnish or lacquer for decorative salt dough. The protection has limits: careful coverage and dry storage help, but neither guarantees a waterproof ornament.
Sources: Michigan State University Extension, “The joy of homemade gifts: Salt-dough ornaments” (December 11, 2025); edding 5200 permanent spray clear lacquer product guidance; edding FAQ on clear coat for decorative dough. Guidance checked October 1, 2026.
Learn how to seal fully dried salt-dough ornaments with clear acrylic varnish, cover both sides and edges, and store them indoors to reduce humidity damage.
Make watery washable paint work better for stamps: check the formula, use undiluted paint, load a thin even coat, and test before printing.
Learn why homemade stickers peel, curl, or lift and how surface prep, material choice, pressure, curves, and set time can improve adhesion.
Trace a simple pattern onto light fabric with a washable fabric pen and a bright window or light pad. Learn the four steps, when to use transfer paper, and how to test marks.
Compare craft glue by material: choose PVA for paper, flexible fabric glue for cloth, wood glue for bare wood, and a plastic-specific adhesive for each resin.
Compare reusable cardboard Halloween decorations kids can make: flat silhouettes, freestanding displays, and garlands, with practical storage and safety tips.
Celebrate World Children’s Day with a low-pressure family idea session. Compare talking, drawing, and writing options, then choose one small follow-up children can see.