How to Seal Salt-Dough Ornaments Against Humidity
Learn how to seal fully dried salt-dough ornaments with clear acrylic varnish, cover both sides and edges, and store them indoors to reduce humidity damage.
Cardboard can become Halloween décor that is inexpensive to make, easy to personalize, and worth bringing out again next year. The tradeoff is that not every project is equally sturdy: a flat wall shape stores neatly, a freestanding figure takes more room, and a hanging garland needs careful placement. Choosing by where the decoration will go—and who will help cut it—usually matters more than choosing the most elaborate design.
For a reusable result, start with clean, dry cardboard and a design that can be stored flat or repaired. Keep cutting blades, hot glue, and small detachable pieces under adult control. The projects below work with ordinary household materials, but cardboard is still combustible and can soften if it gets wet. Treat these as indoor decorations and keep them away from candles, heaters, and exits.
| Project | Best when | Tradeoff | Storage |
|---|---|---|---|
| Flat wall or window silhouettes | You want a quick project children can draw and paint | They need a suitable place to attach; tape may mark some finishes, and window pieces should not block a view | Best for stacking flat in a dry box |
| Freestanding display | You want a pumpkin, ghost, or cat that stands on a table or shelf | It needs a wide, stable support and more adult cutting or assembly | More bulky unless the support folds or slots out |
| Short hanging garland | You want to decorate a wall without using floor space | Holes can tear; string and loops must stay out of a young child’s reach | Compact if the pieces are removed from the string |
For preschoolers, flat silhouettes are usually the easiest to make together because the child can contribute by choosing shapes, tracing, and painting while an adult prepares the cut edges. A freestanding piece is a better fit when the family wants a focal point and has a stable shelf. A garland suits a room with little display space, but it is the least suitable option where toddlers can pull at cords.
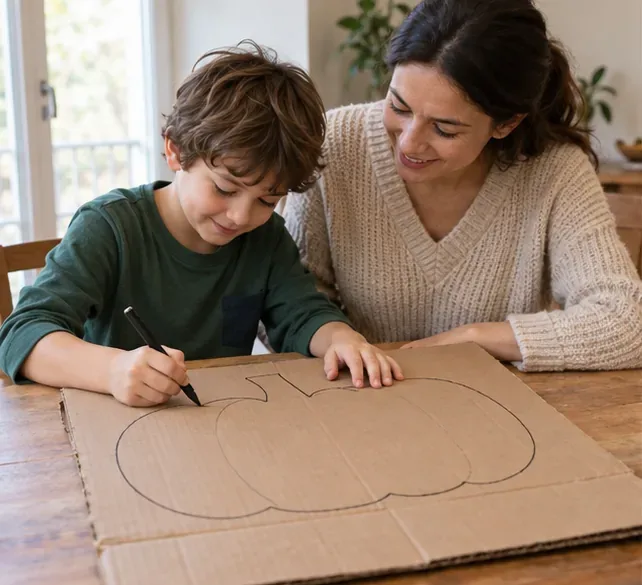
Look for a clean, dry box with no greasy food residue, mold, strong odor, or sharp staples. Corrugated shipping cardboard is sturdy for a tabletop display, but it takes more effort to cut. A cereal or tissue box is thinner and easier for an adult to trim into flat shapes, though it may bend sooner. Avoid any box that has been wet or is crumbling at its creases.
Draw a large outline with a pencil or marker: a pumpkin, crescent moon, ghost, or cat. Large shapes are easier for young children to paint and less likely to turn into loose tiny pieces. If you are making several decorations, use one simple template so pieces have a similar scale and can be stacked together later.
Let children take part in choosing the design and tracing it. An adult should cut thick corrugated board with an appropriate craft knife on a protected surface, well away from children, and put the blade away immediately afterward. Children should use only age-appropriate scissors with close adult supervision; do not assume every child is ready just because the scissors are labeled for children. The American Academy of Pediatrics advises supervising young children during activities and helping with tasks such as cutting. Keep scraps, blades, and staples off the craft table before the child resumes decorating.
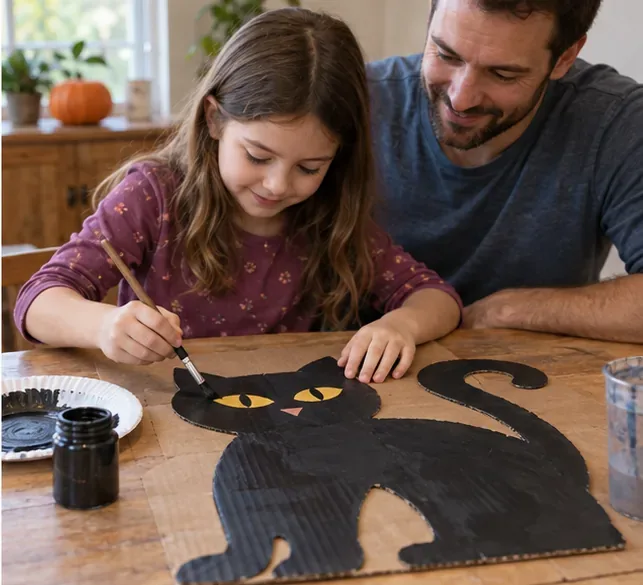
For a flat silhouette, use markers, crayons, or paint labeled for children and follow the product directions. A brush and a few broad color areas dry and store more cleanly than loose glitter, glued-on sequins, or tiny buttons. Let the cardboard dry fully on a protected surface before moving it. If a painted edge curls, a small piece of paper tape on the back may flatten it, but adding several layers of tape can make later sorting or recycling less straightforward.
Use only art materials for their labeled purpose. Poison Control advises reading product labels, following directions, keeping art materials out of the mouth and eyes, and washing hands and the work area after use. “Washable” or “nontoxic” on a package does not mean a child should eat or inhale the material. Keep paint jars closed when not in use and have an adult handle stronger adhesives. Do not use a hot-glue gun in a child’s work area; if a project needs a strong bond, an adult can assemble it separately after the child has finished designing.
For reusable décor, favor a finish that can be touched up: broad marker lines or a simple coat of paint are easier to repair than layers of laminated film. The tradeoff is that paint can slow drying and may limit what your local recycling program accepts when the decoration is eventually discarded. Reuse it while it is sound; when it is no longer useful, check local rules for painted or taped cardboard rather than assuming every curbside program accepts it.
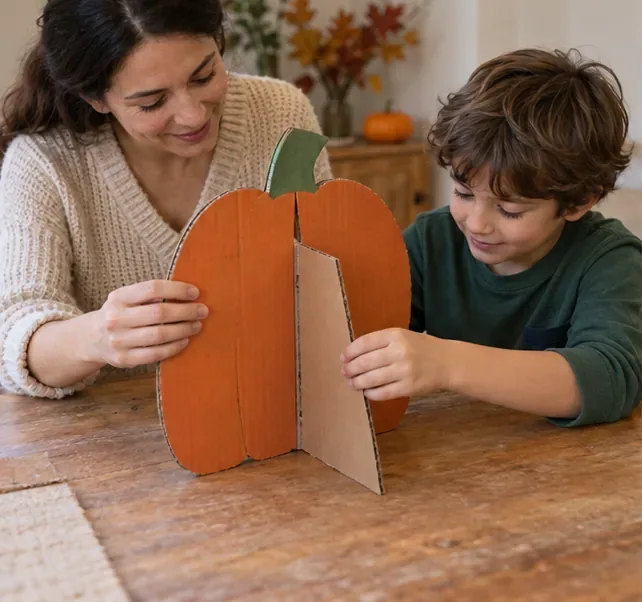
A freestanding shape gives a room more depth than a wall cutout, but it uses more cardboard and can tip if its base is too narrow. A simple no-sew-style cardboard support can be made from a broad triangular flap attached behind the figure or from two slotted panels that cross. The support should be wide enough to keep the decoration upright on a level table without leaning against a heater, lamp, or walkway.
Adults should measure and cut the slots or support pieces. Children can help hold the dry panels in place, select colors, and test the display with an adult watching. If the figure wobbles when lightly nudged, widen the base, shorten the figure, or switch to a flat wall design. Avoid adding small weights, coins, batteries, or other loose objects to the base: they can be swallowed if they come free, and they do not fix a poorly balanced shape reliably.
Cardboard decorations should stay well away from open flames and heat. The National Fire Protection Association’s Halloween guidance says to keep decorations away from open flames and heat sources and to use a battery-operated light in a jack-o’-lantern. A cardboard pumpkin is not a candle holder. If you want a glow, place a battery-powered light nearby without trapping it inside a closed cardboard box, and follow the light’s own instructions.
For a garland, cut several large shapes from thin cardboard and decorate both sides. An adult can make the holes and thread a short length of ribbon or cord. Hang it high enough that a young child cannot pull it down or loop it around a neck, and keep it away from doorways, stair rails, and emergency exits. If those conditions are hard to maintain, choose flat wall shapes attached individually instead.
The garland’s advantage is compact storage: remove the shapes from the cord, stack them, and keep the string separately. Its weakness is that punched holes and narrow bridges between shapes can tear with repeated handling. Reinforce the back with a small piece of paper before punching, or make each decoration larger and simpler. Do not leave a loose cord where toddlers can reach it while the garland is being stored.
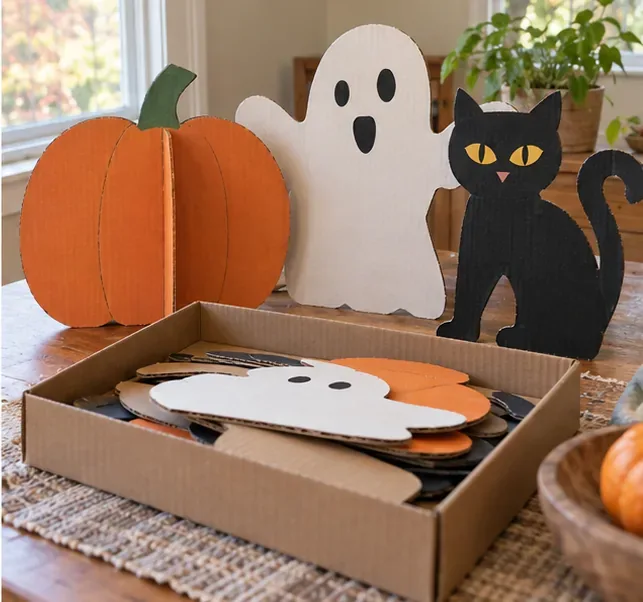
Before packing anything away, check for damp spots, softened corners, peeling paint, torn slots, and loose decorations. Repair small tears with paper tape on the back. Let the pieces dry completely, then stack flat shapes between sheets of clean paper inside a shallow box. Fold or remove freestanding supports when possible, and store garland string separately. Choose a dry closet or shelf rather than a damp basement or garage; humidity can warp cardboard, and a crushed box may bend the shapes.
Reusable cardboard décor trades weather resistance and long-term durability for low-cost materials and easy customization. Flat silhouettes take the least space and need the least assembly. Stand-up figures make a stronger display but need a stable base and more storage room. Garlands are compact and flexible, yet require more attention to cords and tear points. Pick the format that matches the room and the child’s age, then make only as many pieces as you can store without bending them.
Cardboard can be reused for several seasons if it stays dry, intact, and easy to store, but the exact lifespan depends on the board, finish, handling, and storage conditions. It is better to repair or retire a damaged decoration than to assume it will stay safe. For recycling at the end of its useful life, follow your local program’s instructions; the U.S. EPA notes that local cardboard rules can vary.
Sources checked September 28, 2026. Craft-product instructions and local recycling rules may differ; follow the label and your local program.
Learn how to seal fully dried salt-dough ornaments with clear acrylic varnish, cover both sides and edges, and store them indoors to reduce humidity damage.
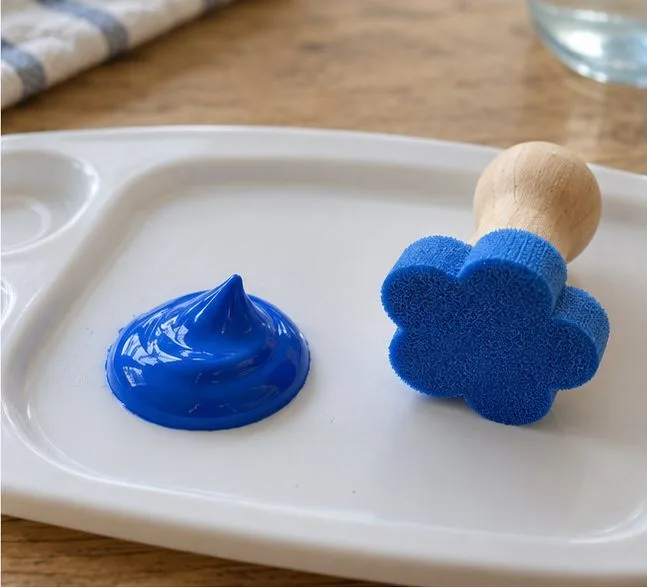
Make watery washable paint work better for stamps: check the formula, use undiluted paint, load a thin even coat, and test before printing.
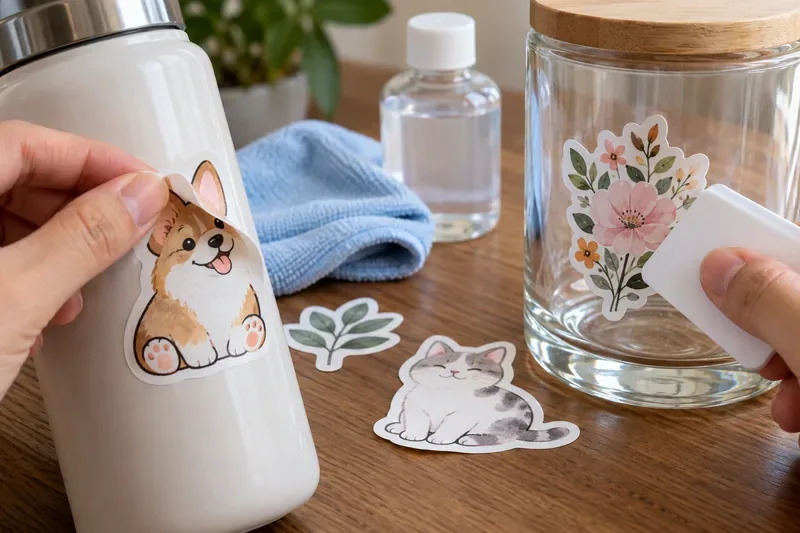
Learn why homemade stickers peel, curl, or lift and how surface prep, material choice, pressure, curves, and set time can improve adhesion.
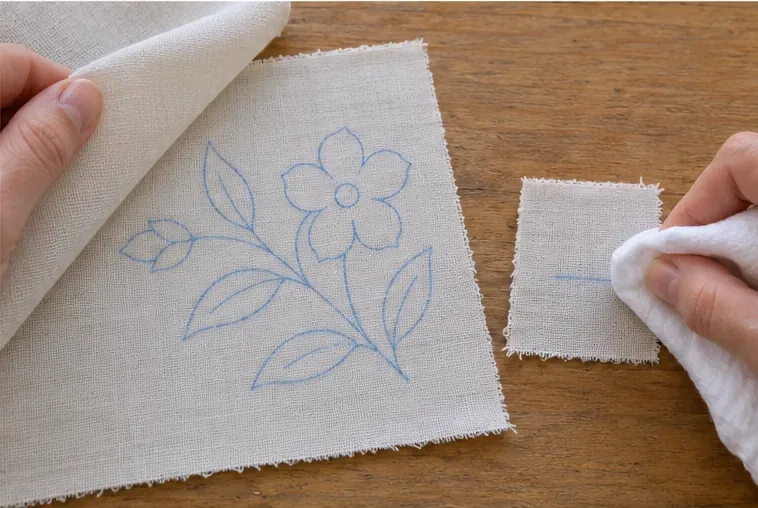
Trace a simple pattern onto light fabric with a washable fabric pen and a bright window or light pad. Learn the four steps, when to use transfer paper, and how to test marks.
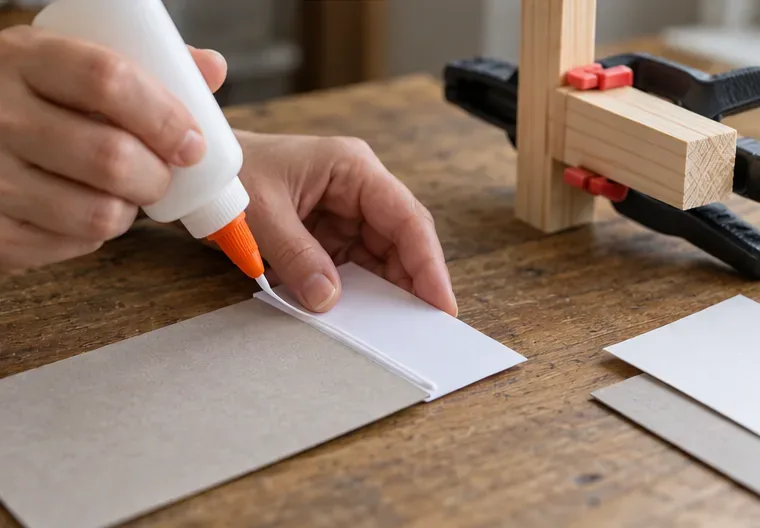
Compare craft glue by material: choose PVA for paper, flexible fabric glue for cloth, wood glue for bare wood, and a plastic-specific adhesive for each resin.
Compare reusable cardboard Halloween decorations kids can make: flat silhouettes, freestanding displays, and garlands, with practical storage and safety tips.
Celebrate World Children’s Day with a low-pressure family idea session. Compare talking, drawing, and writing options, then choose one small follow-up children can see.