How to Seal Salt-Dough Ornaments Against Humidity
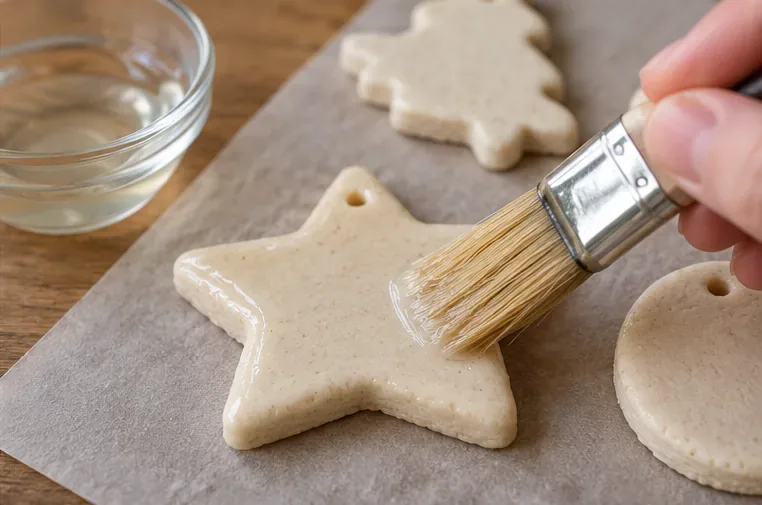
Learn how to seal fully dried salt-dough ornaments with clear acrylic varnish, cover both sides and edges, and store them indoors to reduce humidity damage.
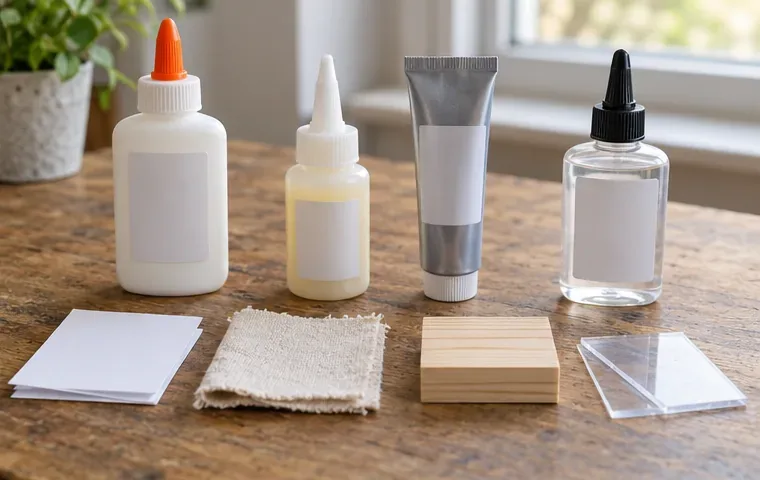
The best craft glue depends on what you are joining and what the finished project must withstand. For paper, a glue stick or white PVA craft glue is usually easiest. For fabric, choose an adhesive made to stay flexible, especially if the item will stretch or be washed. For bare wood, use woodworking PVA. Plastic is the exception: identify the type first and choose a product that names it on the label. No single glue performs best on all four materials.
PVA means polyvinyl acetate. White PVA craft glue is a water-based adhesive commonly used for porous materials such as paper, card, wood, and fabric; it is a useful everyday choice, not a universal bond. Bostik’s PVA craft-glue guide
Before you shop, ask two questions: will the joint need to bend, get wet, or be washed, and is this a decorative craft or a load-bearing repair? “Dries clear” describes appearance, not strength, flexibility, or water resistance.
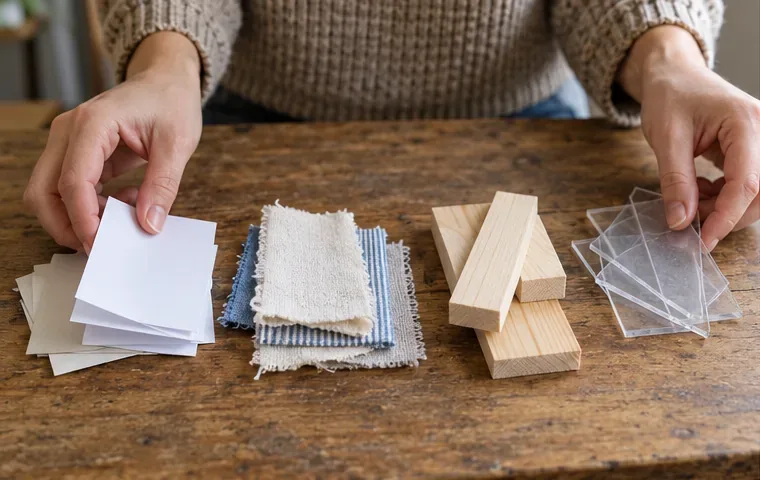
Paper, cloth, and unfinished wood are porous: their surfaces have small openings that can absorb or anchor adhesive. Many plastics are smooth and nonporous, so a general-purpose craft glue may sit on top and peel away. A material’s finish matters too. Painted wood, coated paper, and plastic film do not behave like bare wood or uncoated cardstock.
For mixed-material projects, check that the label covers both surfaces. Then consider the less forgiving requirement: fabric that must flex, a paper surface that must stay flat, a plastic piece that may be handled, or a wooden joint that carries weight. A glue that bonds both materials can still be a poor choice if it dries rigid where the project needs movement.
| Material | Best starting choice | Best for | Watch out for |
|---|---|---|---|
| Paper and cardstock | Glue stick for flat paper; white PVA craft glue for small embellishments | Cards, collage, paper crafts, lightweight layers | Too much liquid can wrinkle thin paper; check “acid-free” for archival work |
| Fabric | Fabric glue that dries flexible | Hems, trims, patches, and embellishments when the label matches the fabric | Washability varies; stretch fabric needs a stretch-rated product |
| Unfinished wood | Woodworking PVA glue | Tight-fitting wood-to-wood craft joints | Not every wood glue is exterior-rated; clamp and cure as directed |
| Plastic | Plastic-specific adhesive named for the resin | Small repairs or plastic-to-plastic craft bonds | “Plastic” is not one material; PE and PP often need a special system |
A glue stick gives you control on flat sheets, labels, and paper-to-paper layers, with less wetness that can buckle thin stock. For cardboard, collage pieces, and small embellishments, white PVA craft glue is versatile and easy to spread in a thin film. Elmer’s lists its school glue for paper, wood, cloth, and other craft materials, while its glue sticks are designed for paper surfaces; that is a useful example of why format matters as much as the word “glue.” See the maker’s guidance for Elmer’s School Glue and Elmer’s Glue Sticks.
Use a light, even coat rather than a puddle. If you are making a scrapbook, art print, or keepsake meant to last, look for an acid-free adhesive and verify that it is suitable for the paper and photos. A washable school glue is convenient, but “washable” is not an archival rating.
Fabric glue is formulated to move with cloth better than a rigid adhesive. Choose a product by the fabric and use: washable for a garment or reusable textile, stretch-rated for knits or dancewear, and suitable for the embellishment or trim being attached. For example, Aleene’s Flexible Stretchable Fabric Glue specifies stretchy fabrics and gives its own drying and washing instructions. Follow that product’s schedule rather than assuming another fabric glue behaves the same way.
Glue works well for many decorations, small hems, and repairs, but it is not automatically a substitute for stitching on a seam that takes repeated pulling. If the piece will be worn, flexed, or laundered, test an offcut and check that the cured line does not feel too stiff or show through the fabric.
For a small wood-to-wood craft joint, woodworking PVA is a reliable starting point. Apply it to clean, bare surfaces that fit closely, bring the pieces together, and clamp them without forcing out all the adhesive. Titebond Original, for example, is intended for interior woodworking and porous materials, but its maker says it is not intended for exterior use or where moisture is likely. The product page also gives specific application and clamp guidance. Check the exact product’s limits at Titebond Original Wood Glue or on the glue you own.
For a wooden ornament that only needs a light decorative attachment, craft glue may be adequate; for a joint that carries a load, follow woodworking instructions and do not rely on a craft adhesive’s “strong bond” claim alone. Painted or sealed wood can reduce adhesion because the glue is bonding to the coating, not directly to the wood.
Plastic is the hardest category to generalize. A rigid acrylic or ABS piece may accept an adhesive that is unsuitable for a flexible polyethylene (PE) or polypropylene (PP) part. Check any molded recycling or resin marking, then confirm the adhesive label specifically names that plastic. A generic super glue can work on some hard plastics but is not recommended for many PE and PP products; some plastic bonding systems use an activator or primer (a separate surface-preparation liquid) for difficult surfaces. Loctite’s plastic bonding system, for example, identifies PE, PP, and PTFE as compatible, while its ordinary super glue lists important exclusions. Compare the product instructions before applying anything: Loctite Plastics Bonding System and Loctite Super Glue guidance.
For a clear plastic craft, test a hidden spot first. Some adhesives can haze, craze, soften, or visibly mark certain plastics. For flexible plastic, choose a flexible adhesive that specifically lists that type. Solvent cement is intended for compatible plastics and is not a universal craft glue; use it only when the product is designed for the exact plastic and the workspace meets its ventilation requirements.
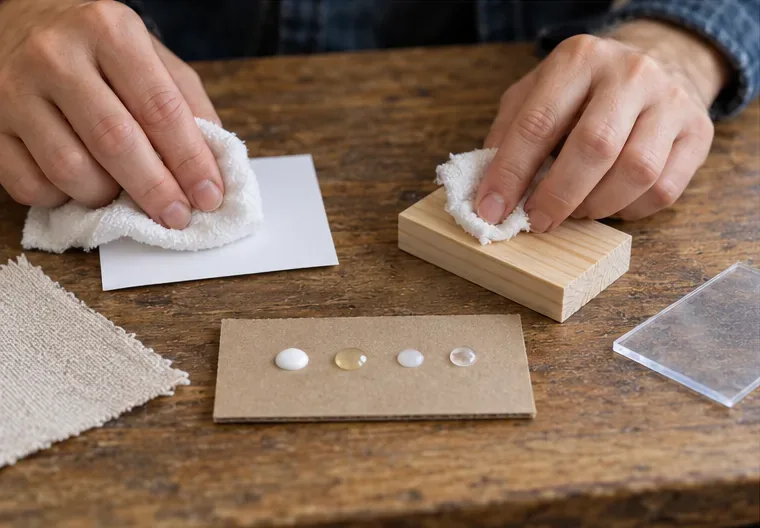
Gather small offcuts of the same paper, fabric, wood finish, or plastic you plan to use. Work on a protected, level surface. Remove dust, loose fibers, oil, and dirt; let damp surfaces dry. Do not sand or wipe plastic with a solvent unless the adhesive instructions recommend it, because the wrong solvent can damage the surface.
Make a hidden test bond with a small amount of glue. Let it reach the product’s stated cure time, then check the bond, appearance, and flexibility. “Set” means the parts can be handled; “cure” means the adhesive has developed its intended final properties. The waiting time depends on product, coat thickness, humidity, and temperature, so use the label rather than a generic timer.
Spread enough adhesive to make contact across the joint without flooding it. Align the pieces once, press evenly, and use a weight, tape, or clamp only if the product calls for it. For paper, put scrap paper beneath the work and smooth from the center outward to reduce bubbles and wrinkles. For fabric, follow instructions on whether the material should be stretched or laid flat while applying. For wood, keep the joint aligned and clamp it for the maker’s specified time. For plastic, use the product’s primer, activator, mixing, and pressure directions exactly.
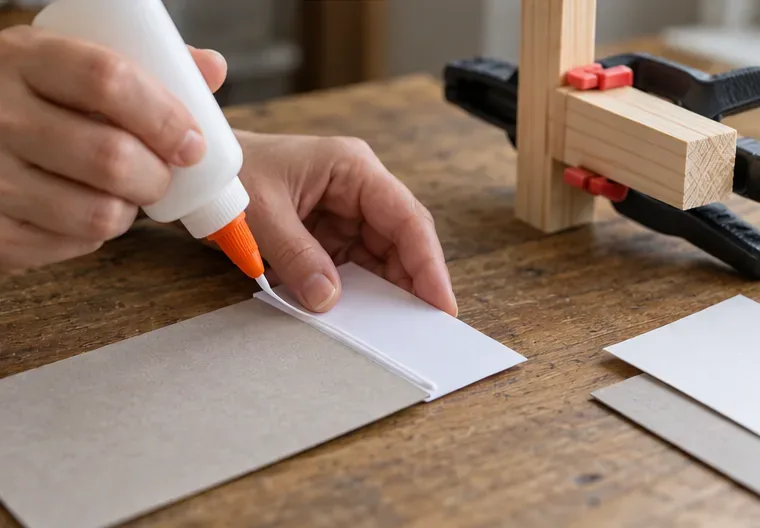
Do not handle, flex, wash, sand, or load the joint before its recommended cure time. More glue does not mean a stronger joint: excess can keep surfaces apart, wrinkle paper, stiffen cloth, or leave visible squeeze-out.
Read the product label and safety data sheet, ventilate as directed, protect the work surface, and keep adhesives away from children and pets. “Nontoxic” or “washable” does not mean edible or suitable for every project.
For everyday crafts, start with a glue stick for flat paper, white PVA for paper and light porous-material projects, flexible fabric glue for cloth, woodworking PVA for bare wood joints, and a plastic-specific adhesive for identified plastic. Then test the real materials, apply sparingly, and wait for full cure. If the project will be washed, flexed, exposed to moisture, or carry weight, let that requirement—not the lowest price or strongest-sounding label—determine your final choice.
Learn how to seal fully dried salt-dough ornaments with clear acrylic varnish, cover both sides and edges, and store them indoors to reduce humidity damage.
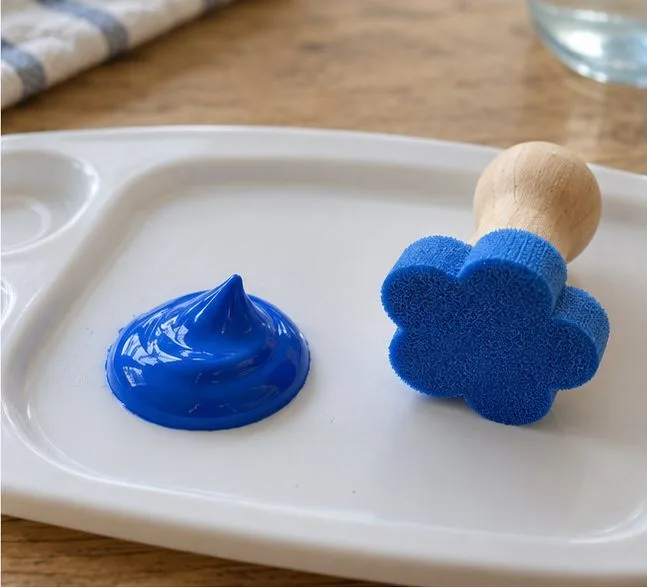
Make watery washable paint work better for stamps: check the formula, use undiluted paint, load a thin even coat, and test before printing.
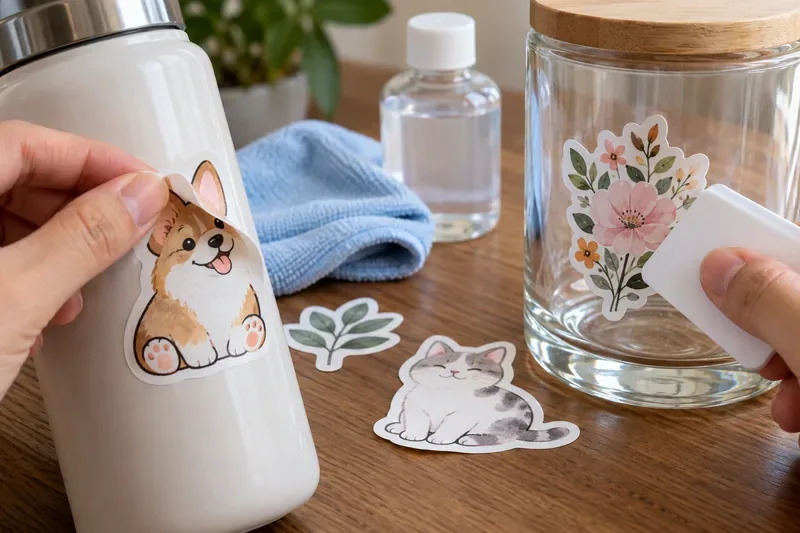
Learn why homemade stickers peel, curl, or lift and how surface prep, material choice, pressure, curves, and set time can improve adhesion.
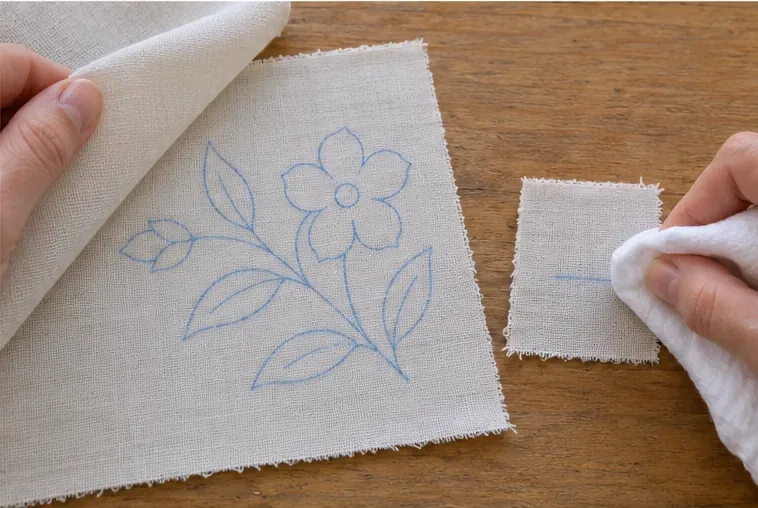
Trace a simple pattern onto light fabric with a washable fabric pen and a bright window or light pad. Learn the four steps, when to use transfer paper, and how to test marks.
Compare craft glue by material: choose PVA for paper, flexible fabric glue for cloth, wood glue for bare wood, and a plastic-specific adhesive for each resin.
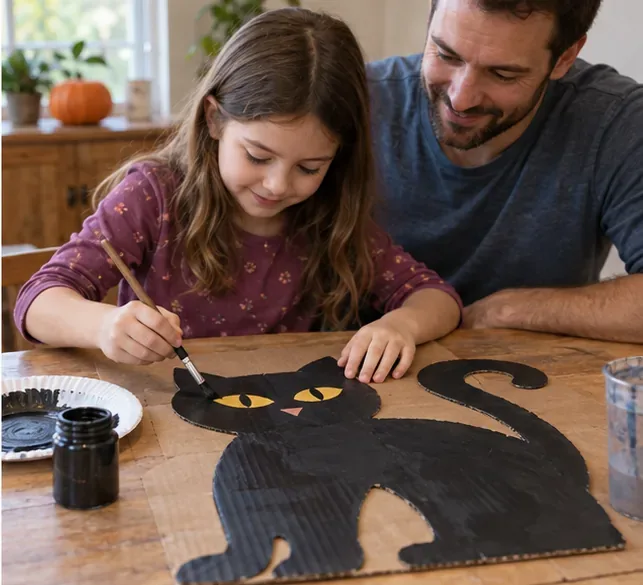
Compare reusable cardboard Halloween decorations kids can make: flat silhouettes, freestanding displays, and garlands, with practical storage and safety tips.
Celebrate World Children’s Day with a low-pressure family idea session. Compare talking, drawing, and writing options, then choose one small follow-up children can see.