How to Seal Salt-Dough Ornaments Against Humidity
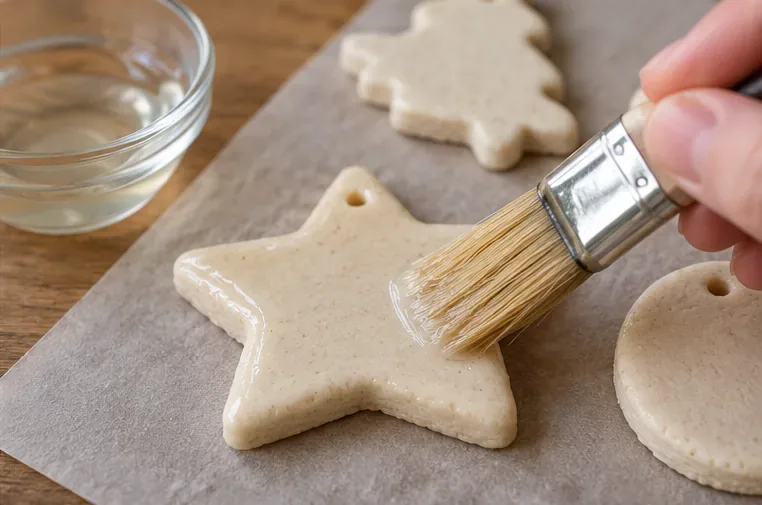
Learn how to seal fully dried salt-dough ornaments with clear acrylic varnish, cover both sides and edges, and store them indoors to reduce humidity damage.
Short answer: If washable paint is too runny for stamping, first check that it has not been diluted, gently mix it, and test a small amount on a flat palette. If it is still watery straight from the container, use a thicker washable tempera or paint made for printing rather than trying to rescue it with flour, cornstarch, or glue. For a clean stamp, the paint should form a thin, even film on the stamp; the goal is not to bury the stamp in a puddle.
That distinction matters. A thin coat can transfer a clear shape, while excess liquid can spread beyond the stamp and blur its edges. A University of Southern Utah family printmaking handout recommends applying a thin layer of paint to a printing surface; it does not prescribe a universal viscosity or a thickening recipe. Read the Southern Utah Museum of Art printmaking handout. For your project, test one impression on scrap paper before stamping the final piece.
Washable paint is not one standardized formula. Brands and product types differ, and watercolor, finger paint, poster paint, and washable tempera are designed to behave differently. Crayola describes one of its washable paints as a craft paint and says it does not drip easily from a brush, but that product description does not guarantee that every washable paint will stamp the same way. Check the manufacturer’s description for the paint you own. Use the label and a test print to decide whether the product suits your stamp.
A paint can also look watery because it was diluted for brush painting, because a little water got into the container, or because the paint is simply formulated to flow. Those are possibilities, not diagnoses: appearance alone cannot identify what happened inside a bottle. Before changing the paint, compare it with its normal consistency, make sure the lid and rim are clean, and read the label for directions. If you intentionally added water, set aside a fresh undiluted portion for stamping.
Stir the paint slowly with a clean craft stick, especially if it has sat for a while. Scrape the sides and bottom, but avoid whipping it, which can introduce bubbles. Put only a small amount on a clean, dry plate or palette; keep the main bottle closed so it is not contaminated by water or dirty tools. Mixing can even out a paint that has settled, but it will not make a naturally fluid formula thick. If it stays runny after mixing, move to the product-choice step rather than adding random ingredients.
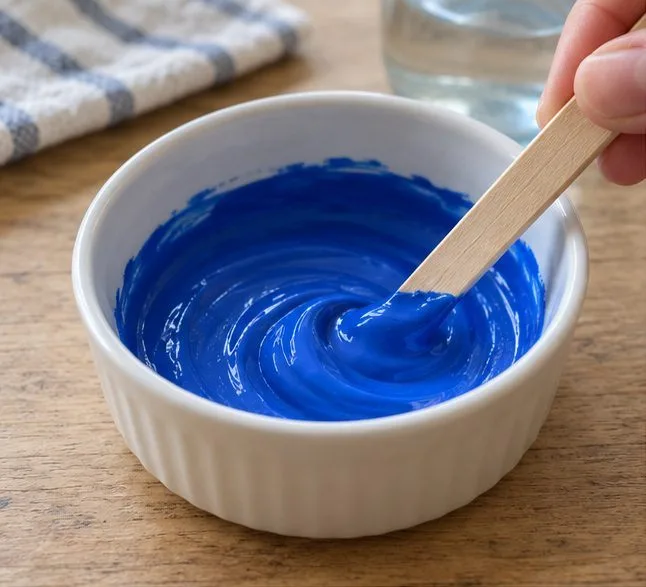
If the paint was diluted, use a fresh portion straight from the bottle. If it was not diluted and still runs off a craft stick like colored water, choose a thicker washable tempera or a washable block-printing paint that is compatible with your stamp and paper. Do not assume that a product labeled washable is automatically suitable for every surface or printing method. Crayola, for example, notes that its washable paint washes from skin and most washable clothing; those claims are specific to that product and do not promise that every fabric, surface, or paint mixture will clean up equally well. Review the maker’s use and cleanup notes. Choose a product whose label matches the material you plan to stamp.
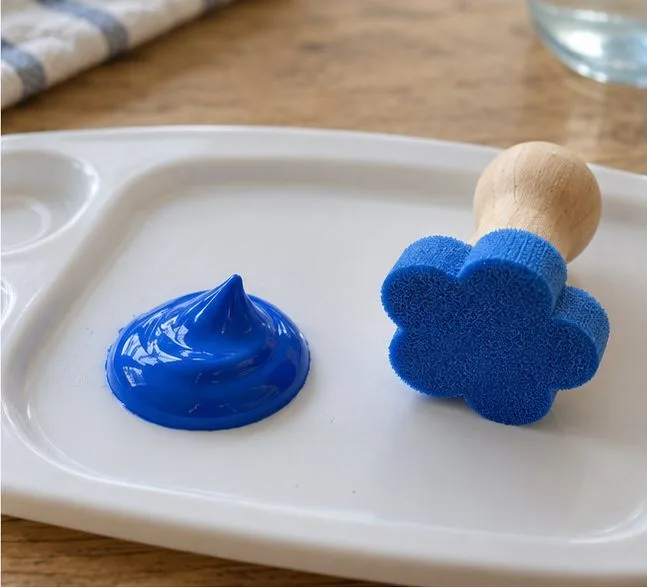
Spread a little paint across the palette with a brush or sponge so it makes a thin, even patch. Touch the stamp to that patch once or twice, then check the raised surface. You want an even sheen, with no drops hanging from the edges and no paint filling the stamp’s grooves. If the stamp leaves a wet ring or the paint squeezes out around it, wipe or rinse the stamp, blot it dry, and reload with less paint. A university museum’s guide to foam printmaking likewise treats paint or ink as something applied to the printing surface for transfer, but the right amount depends on the stamp material and paint. See Grinnell College’s printmaking materials and process. Adjust the amount on the palette before changing the whole bottle.
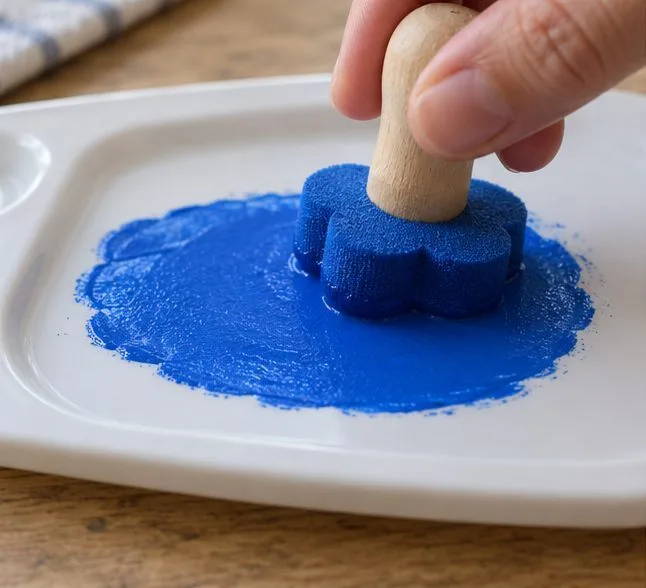
Press the stamp straight down onto scrap paper with steady, moderate pressure, then lift it vertically. Look for a recognizable outline, even color, and no watery halo. A pale or broken print may mean there is too little paint, uneven contact, or a textured stamp; a dark blob or spreading edge usually points to too much liquid or pressure. These clues can overlap, so change only one thing at a time: reload slightly, press more evenly, or switch paper. Printmaking guides describe transferring paint by pressing a matrix onto paper, but no single pressure or paint thickness works for every combination. Review the Utah Museum of Fine Arts printmaking activity. Use two or three test prints to find a repeatable result before moving to the finished surface.
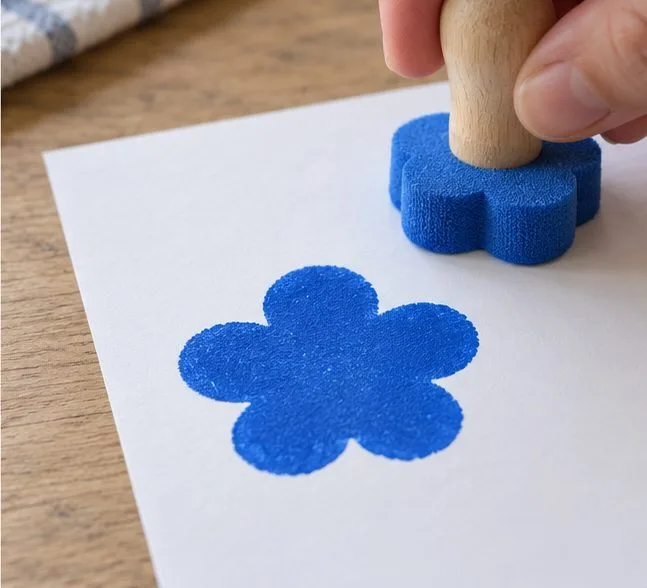
If the paint remains watery after gentle mixing and you know it has not been diluted, the simplest fix may be switching to a thicker washable product. The paint’s exact formula and the stamp’s material matter, so there is no reliable universal household thickener or fixed paint-to-additive ratio. Keep a small test portion separate; do not experiment inside the original container. If a child is using the materials, follow the product age guidance and keep paint away from eyes and mouths.
Quick check before stamping: paint undiluted; clean, dry palette; thin film on the stamp; test print with a defined edge; cleanup instructions checked for your surface. If the test still puddles, change to a thicker paint rather than adding more pressure or an unverified thickener.
Learn how to seal fully dried salt-dough ornaments with clear acrylic varnish, cover both sides and edges, and store them indoors to reduce humidity damage.
Make watery washable paint work better for stamps: check the formula, use undiluted paint, load a thin even coat, and test before printing.
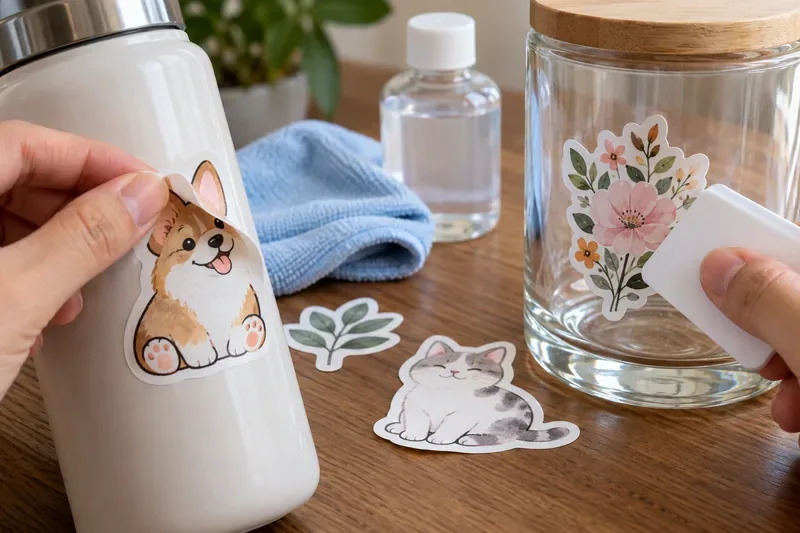
Learn why homemade stickers peel, curl, or lift and how surface prep, material choice, pressure, curves, and set time can improve adhesion.
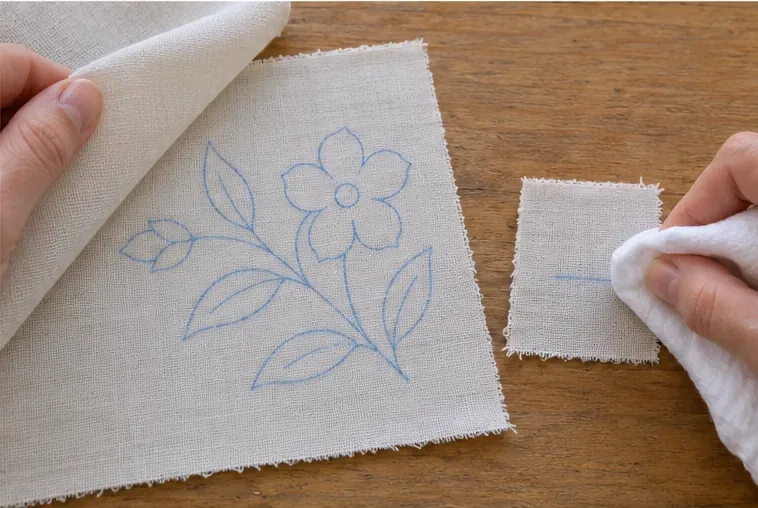
Trace a simple pattern onto light fabric with a washable fabric pen and a bright window or light pad. Learn the four steps, when to use transfer paper, and how to test marks.
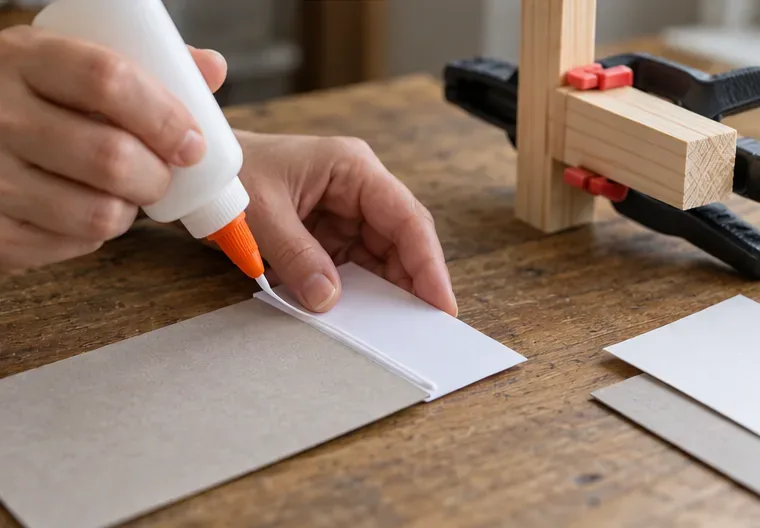
Compare craft glue by material: choose PVA for paper, flexible fabric glue for cloth, wood glue for bare wood, and a plastic-specific adhesive for each resin.
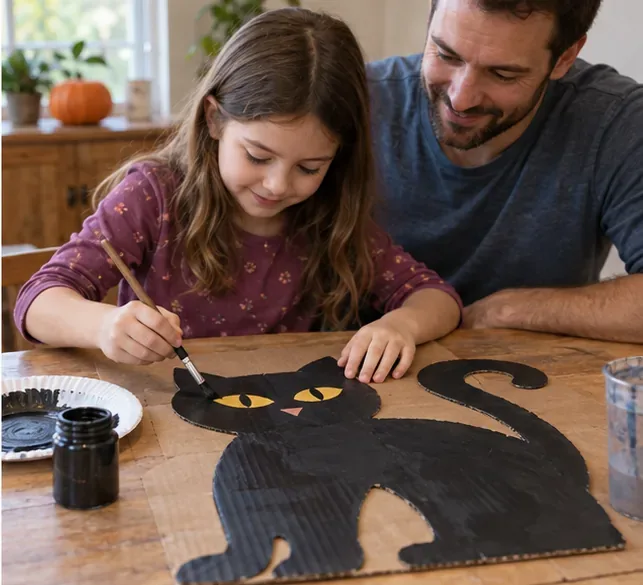
Compare reusable cardboard Halloween decorations kids can make: flat silhouettes, freestanding displays, and garlands, with practical storage and safety tips.
Celebrate World Children’s Day with a low-pressure family idea session. Compare talking, drawing, and writing options, then choose one small follow-up children can see.