How to Seal Salt-Dough Ornaments Against Humidity

Learn how to seal fully dried salt-dough ornaments with clear acrylic varnish, cover both sides and edges, and store them indoors to reduce humidity damage.
For a simple line design on light, thin fabric, the easiest transfer method is to place the paper pattern underneath the fabric and trace over it with a fabric-marking pen while holding both against a bright window or light pad. The pattern shows through, so you do not need a tracing wheel or transfer paper. This works best when the fabric is pale and translucent enough to see the lines. If the fabric is dark, opaque, fuzzy, or too thick to see through, use dressmaker’s transfer paper and a tracing wheel instead.
The steps below are for a small motif, such as a flower or a simple embroidery outline. Transferring a sewing pattern piece for cutting is slightly different: you may need to transfer cutting lines, notches, darts, and seam allowances rather than trace a decorative outline. In either case, test the marking tool on a scrap of the same fabric first. A line that looks removable on one fabric may stain, disappear too soon, or remain on another.
For the see-through method, gather the paper design, your fabric, a fine-point fabric-marking pen labeled as removable for your fabric type, low-tack tape or pins, and a bright window or light pad. Keep a small offcut of the same fabric for testing. If you are transferring onto a dark or opaque material, add dressmaker’s tracing paper in a contrasting color and a tracing wheel or smooth stylus.
Use a fabric pen made for textile marking rather than a regular ballpoint, felt-tip, or permanent marker. A water-erasable pen is convenient on fabric that can safely be dampened, but its label matters: different inks have different removal rules. Clover’s water-erasable marker instructions, for example, say to test first, let the test fabric dry completely, avoid use on fabric that cannot be washed with water, and check marks before they have been left for too long.
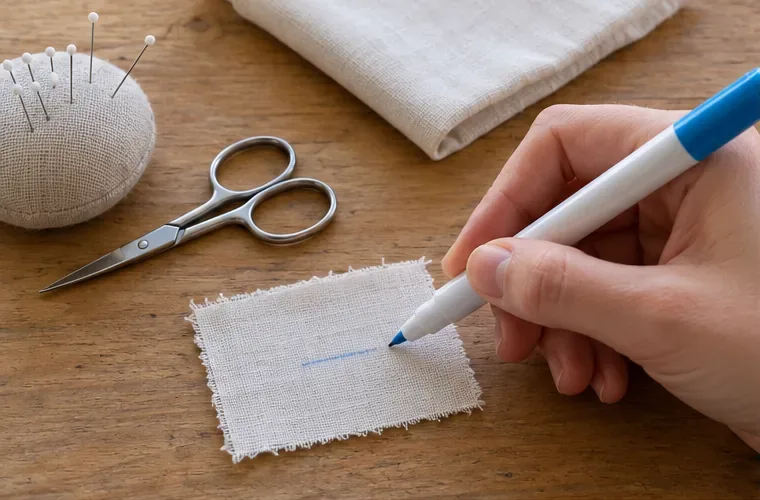
Draw a short line on an offcut from the same fabric. Follow the marker’s removal instructions, then let the sample dry fully before deciding whether the mark is acceptable. Check both sides for show-through or staining. If the mark does not come out as expected, switch tools before working on the project. Do not assume that a marker labeled washable will behave identically on every fiber, color, finish, or weave.
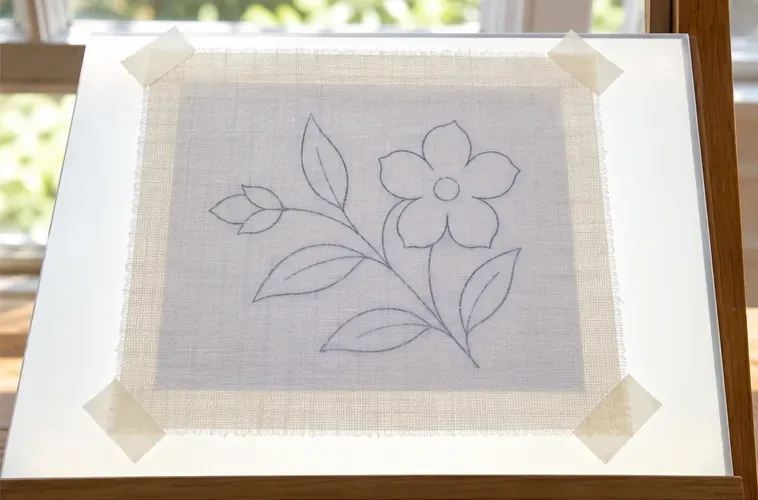
Place the paper design on the light pad or tape it to a sunny window. Lay the fabric over it so the side you want to mark faces you. Smooth the fabric without stretching it, and secure the paper and fabric around the edges. A hoop can help keep a small embroidery area steady, but do not pull knit or stretch fabric tight enough to distort its shape. If the design is hard to see through the fabric, stop here and use transfer paper; pressing harder with the pen will not make the pattern clearer.
A window can serve as a simple light box: Clover’s sewing tutorial demonstrates taping a paper design to a window and placing a material layer over it so the light makes the outline easier to trace. That approach is convenient for a small motif on cloth that lets light through.
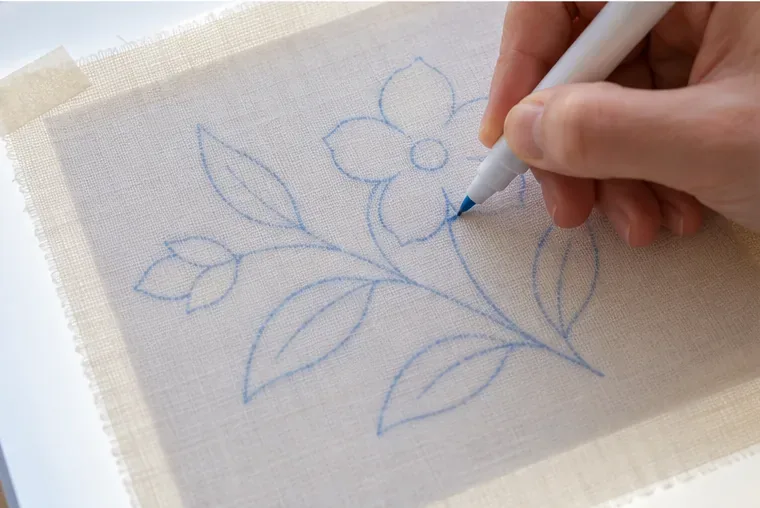
Trace the main outline slowly, keeping the fabric and paper still. Use light pressure and short, controlled strokes around curves. For a simple motif, you can turn the fabric and paper together to keep your hand comfortable rather than twisting your wrist around the design. If the pattern includes small interior details, trace only the lines you actually need for stitching, painting, or placement.
For a sewing pattern, transfer important marks such as darts, pocket positions, or fold lines as needed. Keep cutting lines distinct from stitching lines, and check whether the printed pattern already includes seam allowance. A decorative motif does not need garment-construction marks, and a garment piece should not be cut based on an embroidery outline.
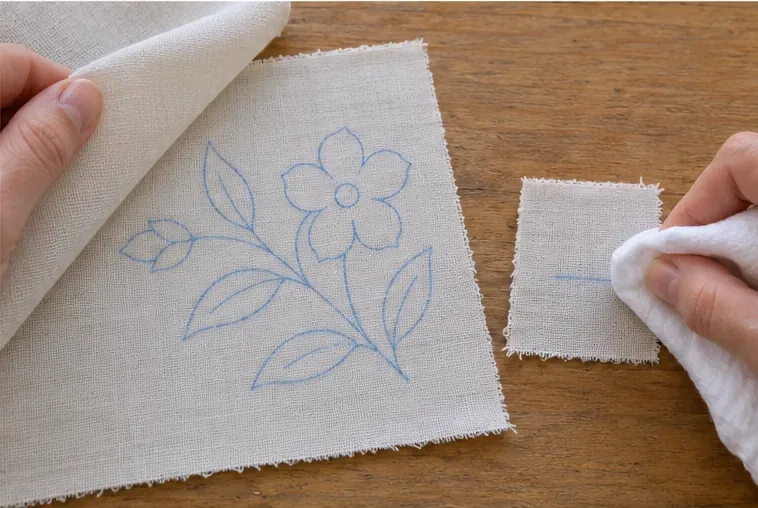
Carefully lift one corner and check that the entire design transferred clearly. If a short section is missing, realign the paper and fabric before tracing only that area. Do not drag the fabric while lifting it. Before ironing or washing, remove marks only as directed by the tool manufacturer and the fabric care label. Some marking products warn that heat can make marks harder to remove; Clover’s soluble pencil instructions, for instance, recommend testing the same fabric and caution that ironing may prevent the mark from washing away.
Light-box tracing depends on visibility. It is quick for a small, uncomplicated shape on pale, light-weight cloth, but it becomes frustrating when fabric is opaque, dark, thick, textured, or piled. In those cases, dressmaker’s transfer paper gives you another route: place the paper between the design and fabric in the package’s recommended orientation, then roll a tracing wheel or stylus over the lines. Choose a transfer color that contrasts with the fabric, use gentle pressure, and test first on a scrap.
Prym Americas’ Dritz guidance describes transferring with the colored side of the tracing paper toward the fabric and tracing over the design with a wheel. It advises testing removability, selecting a color close to the fabric, and protecting the work surface. For a simple drawing meant to show on the right side, some transfer papers are designed for that use; check the specific product instructions rather than assuming every paper has the same coating or placement.
| Method | Works best when | Main trade-off |
|---|---|---|
| Window or light pad plus fabric pen | The design is simple and the fabric is light enough to see through. | Fast and uses few tools, but visibility limits it to suitable fabric and lighting. |
| Transfer paper plus tracing wheel | The fabric is opaque or you need to transfer internal sewing marks. | More versatile across colors, but requires a matching paper color, careful alignment, and a removable mark test. |
| Chalk or a water-soluble pencil | You need a visible line on a darker surface or are marking around a paper pattern. | Easy to handle, but line width and removal vary; some marks can be difficult to erase after pressing. |
If a design will be stitched on a dark fabric, use a marking tool that contrasts clearly and is intended for that material. For a thick pile such as terry cloth, water-soluble stabilizer can hold a pattern on the surface; it is a specialty option rather than the easiest first choice for ordinary smooth fabric. Avoid tracing a delicate or valuable textile until a scrap test confirms that both the marking tool and removal method are safe for it.
The pattern is ready when every line you need is visible at your normal working distance, the fabric has not shifted or stretched, and the marker has passed a removal test on matching scrap. Compare the transferred design with the original before you remove the paper or begin stitching. If marks are faint, misplaced, or difficult to remove in the test, change the tool or method now; correcting a transfer is easier before the fabric is sewn, painted, or cut.
Instructions and product guidance checked September 30, 2026. Removal and fabric compatibility depend on the specific marking product and textile; follow the manufacturer’s current directions and the fabric care label.
Learn how to seal fully dried salt-dough ornaments with clear acrylic varnish, cover both sides and edges, and store them indoors to reduce humidity damage.
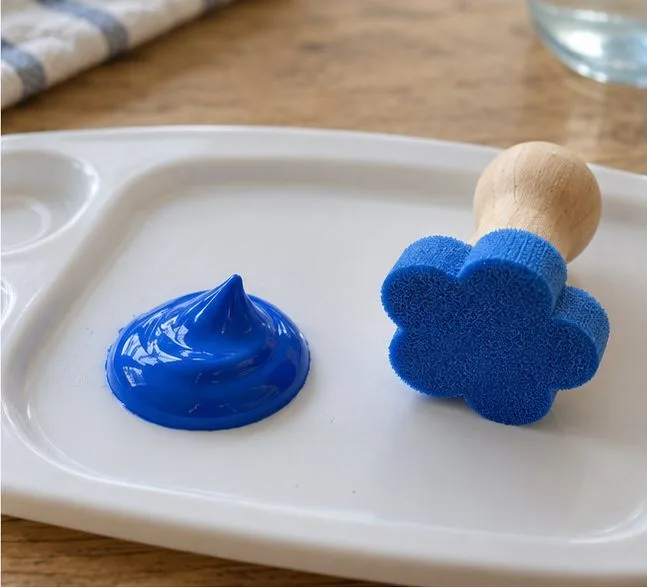
Make watery washable paint work better for stamps: check the formula, use undiluted paint, load a thin even coat, and test before printing.
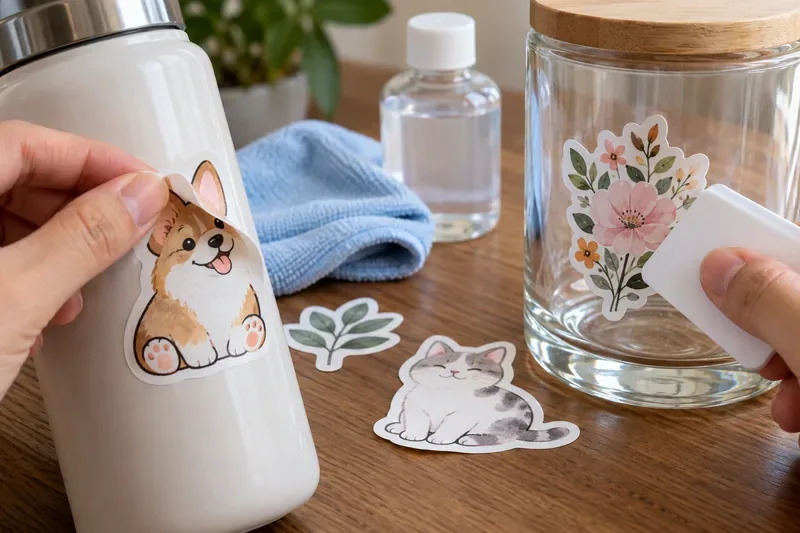
Learn why homemade stickers peel, curl, or lift and how surface prep, material choice, pressure, curves, and set time can improve adhesion.
Trace a simple pattern onto light fabric with a washable fabric pen and a bright window or light pad. Learn the four steps, when to use transfer paper, and how to test marks.
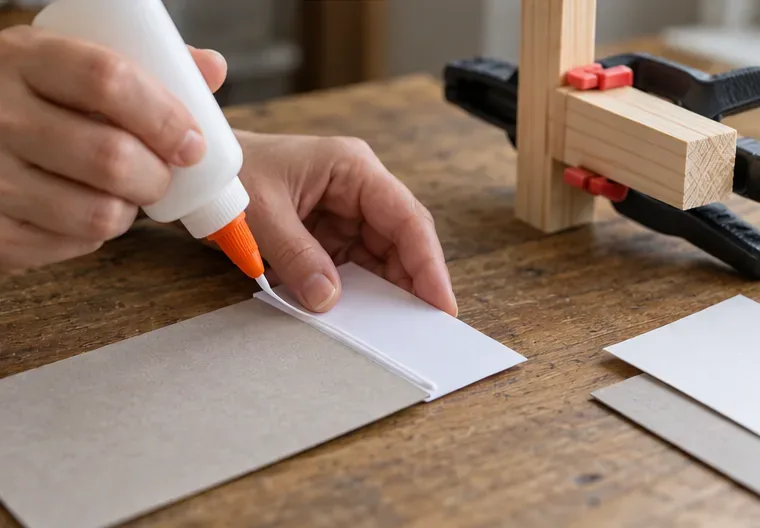
Compare craft glue by material: choose PVA for paper, flexible fabric glue for cloth, wood glue for bare wood, and a plastic-specific adhesive for each resin.
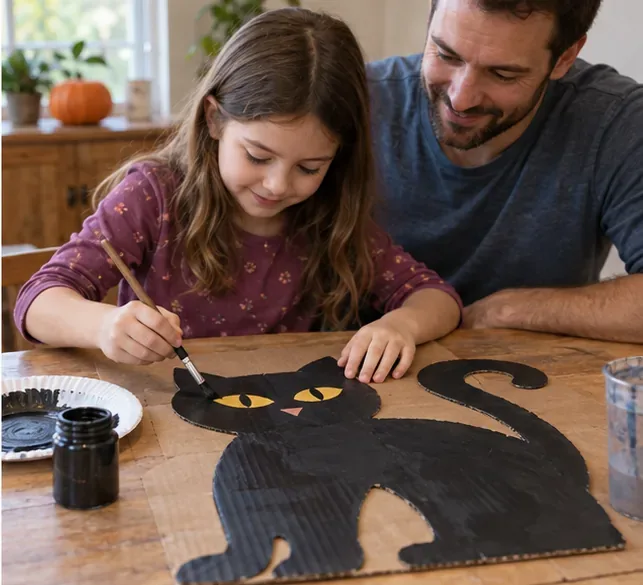
Compare reusable cardboard Halloween decorations kids can make: flat silhouettes, freestanding displays, and garlands, with practical storage and safety tips.
Celebrate World Children’s Day with a low-pressure family idea session. Compare talking, drawing, and writing options, then choose one small follow-up children can see.